I recently came back from a five-day class at the Barn with
Carol Soderlund. The class was called "Visions and Revisions," and was aimed at experienced dyers. Students let Carol know ahead of time the particular areas of dyeing that we wanted to work on, and then we worked independently with Carol's guidance. There were only five of us in the class, so we got a lot of attention, and Carol was enormously generous with her time and knowledge. I took my
first class in fabric dyeing with Carol in the spring of 2009. With the skills gained in that class, I have been able to successfully dye fabric for a number of quilts, but I felt I needed further help to go in some other directions, particularly in the use of thickened dye as "paint" that one can use to print, stamp, paint, and write with.
Knowing that I would like to create more fabric with the texture and/or color of stones, I worked with a limited palette of neutrals the whole week. (For an example of my previous work about stones, done with paint rather than dye, click
here.) With a set limited palette, I could focus on learning techniques, and just use the array of five or six colors that I had mixed up.
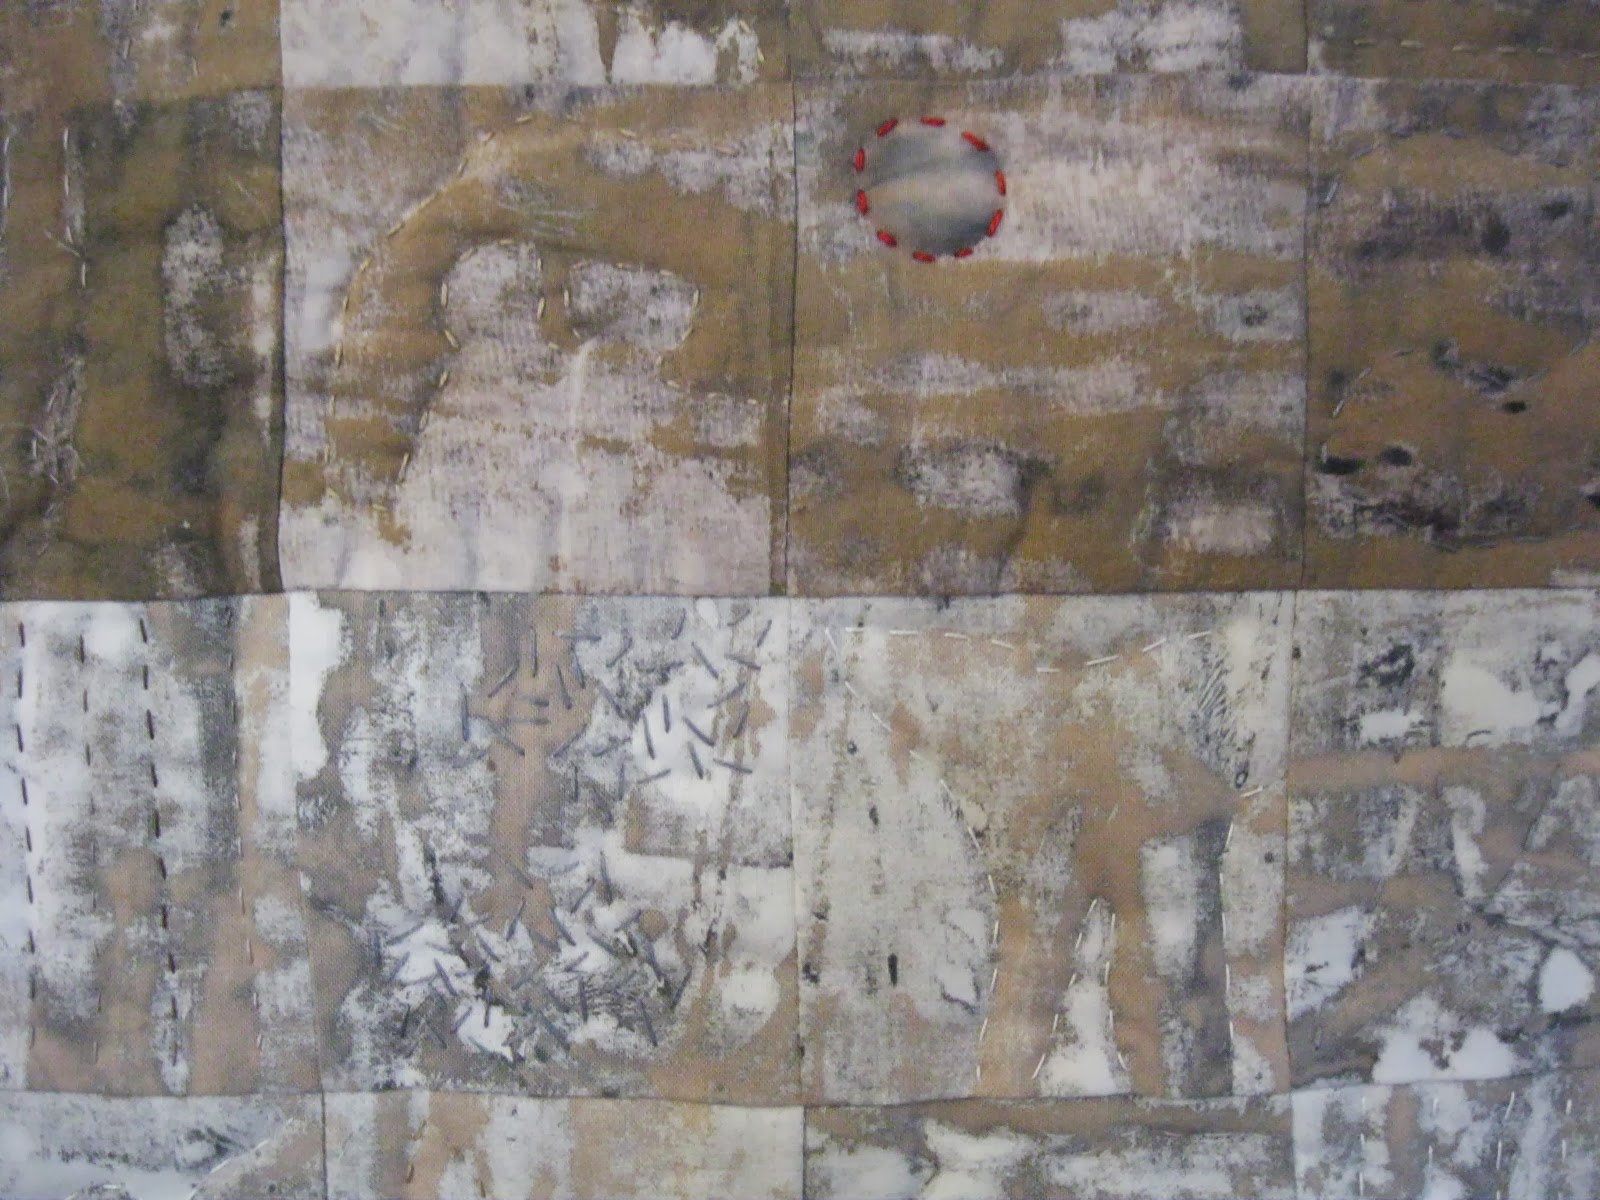
I worked on over 30 pieces of fabric over the week, some about a yard long, others just small rectangles. My favorite piece is the one at the top of the post, especially the top gray tier (click on any photo to bring up a larger image). This is a silk screen print, using corn husks to mask the screen: husks torn and arranged on top of white fabric, silk screen laid on top, and then gray dye pulled through--dye goes to the spaces between the shapes of the corn husks. I printed the screen (about 12x18") several times across the width of the fabric, and then I turned it 90 degrees and printed over the first series. In the tier printed with tan, I used leaves as well as corn husks; you can see some of those shapes maintained, even though I again did both vertical and horizontal printing. Here's a detail of the gray tier:

OK, less detail on the rest! Here are the pieces I did that I am most likely to follow up on in one way or another. The next one is done with a stamp, stamped in a vertical position with gray dye and then horizontally with tan.
Here's the stamp I made for the piece--very easy to make, cutting shapes out of "Fun Foam" and sticking them on a piece of foam core as the base:
Another kind of printing is done with a thermofax screen, a technique that allows you to burn a line drawing into a screen. Here I tried out screens made from the drawings I've been doing since the summer:
Here I took the screen for the enlarged detail of salvia (on the right above), and I printed it multiple times. then I painted grey dye over one bunch to see what it would look like on colored fabric:
And here's one done from laying double-pointed knitting needles on a photocopy machine. The screen was done with the needles all parallel to each other; the print was done by multiple pulls on the same screen. This was printed on fabric previously dyed tan.
I like this next piece a lot. I started with gray fabric, wet it and scrunched it up, and then dabbed gray and tan paint on it.
And a detail--cut up, this would work well as fabric for stones.
I also made some stamps in the shapes of stones. First I used gray dye and a foam roller for applying the dye:
Then I used more colors, and I used a foam brush to apply the dye, which gave more texture to the stones.
Here's a piece with good potential for stone texture (rather than shape). It was done using a paint roller, the kind with a very rough foam roller, meant for texturizing paint application. I rolled over white fabric with grey paint. I can put another layer or two on, to have less white. Or if do another piece like this, I would probably start with an already-dyed piece of fabric and then roll over it with one layer.
I was also interested in writing with dye on fabric. I wanted to obscure the actual text, so this version was done by monoprinting: I wrote on a plastic-covered table with the dye, then laid the fabric on top of it--so the writing comes out backwards.
Here are a couple of images from fabric I printed using a
"deconstructed screen"--a different (and more complicated) process than
regular printing with the silk screen, and not one I'm likely to do
again, but I can cut some good "stones" out of these pieces. The base
of this screen was twine laid down on the screen in somewhat snaky
parallel lines.
Finally, here's a photo of the wall where some of my work was hung up. A very productive week, with a lot to process in its wake. . . I am happy with the range of techniques I learned; now I need to look over the work I produced and decide which techniques I'd like to pursue further. I did not intend to create "finished" fabric at the workshop, so I'm glad to have even just a couple that I'm happy with as is.