
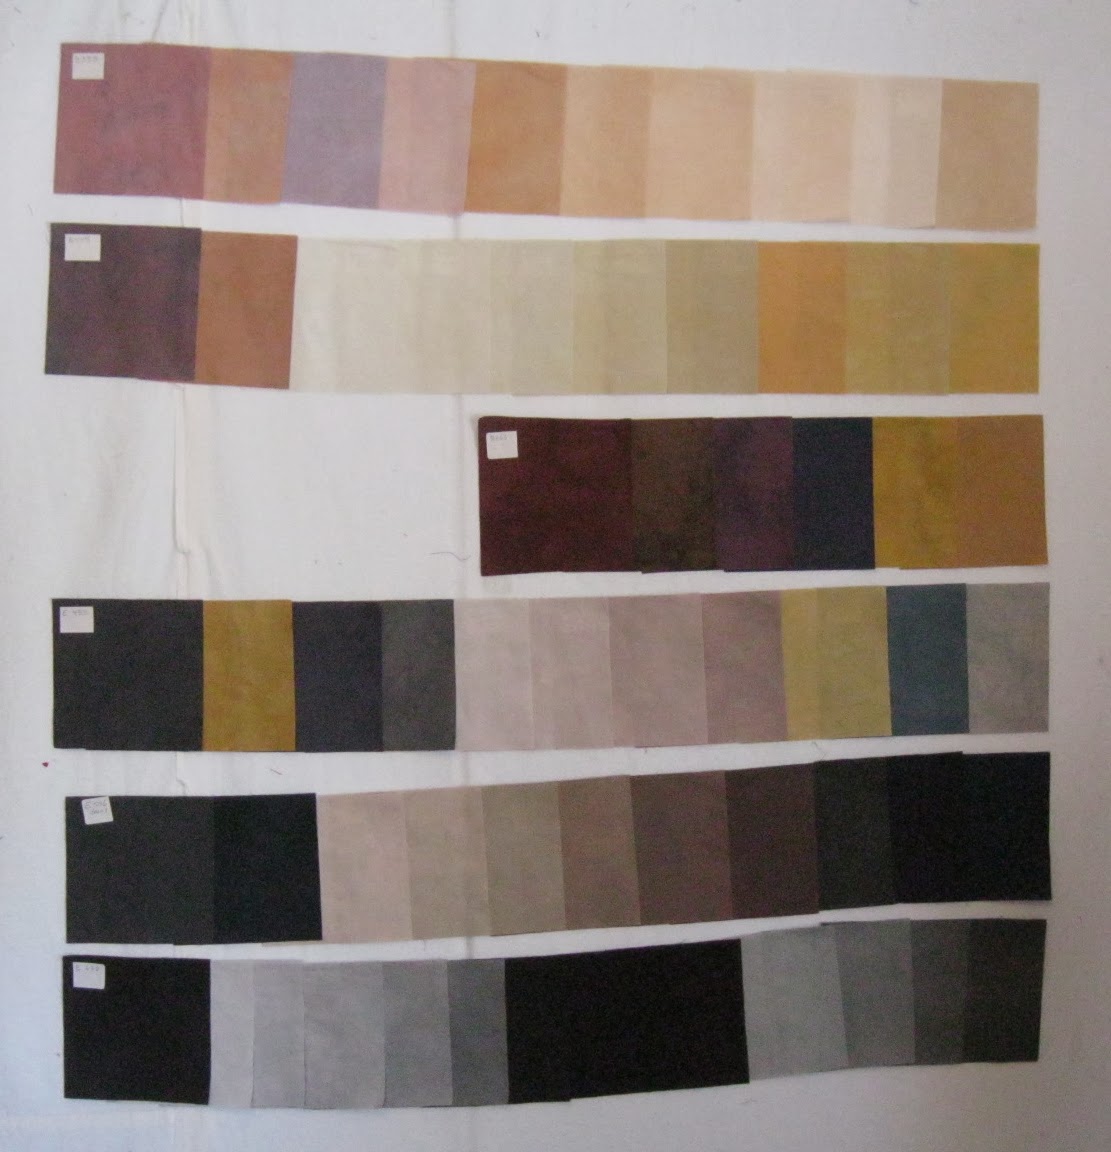
I've made several small quilts in which I've tried to capture one or more elements of stones--color, texture, shape--and plan to do more. I've done some of this work with hand-painted fabric--easy to get the colors and patterning I want, but the paint changes the hand of the fabric in a way I don't like. Hand-dyed fabric would be better on that score, and I've been dyeing neutrals from time to time to build up my supply. Some months ago, I learned that Carol Soderlund would be doing a workshop at the Crow Barn specifically on Neutral Territory: 50 Shades of Gray and 50 Shades of Brown, but by the time I decided to sign up, the class was already full. It will be offered again in 2015, but rather than wait until then, I decided to invest a few weeks of steady dyeing time to come up with neutrals tailored to the projects I have in mind. (In addition to the stones project, I am also in the early stages of a project that has to do with trees, so I need some grayish/browns for that.) I spent a few weeks in December and January dyeing about 50 different colors--some done individually, some done as gradations of one hue. The photo above shows the resulting collection of neutrals (including some pieces that I'd done before).
I've kept samples of my hand-dyed fabric before, but not in a systematic enough way to easily find a particular color that I may have dyed before. I wanted to be able to easily reference the neutrals, so I came up with a filing system. With each fat quarter (18x22") that I had dyed, I cut off a 5-1/2" strip, and then cut three 5-1/2" squares from that strip. (I like having large samples, especially because there is some mottling in this fabric.) I folded up the remaining large piece for the drawer (shown above). Below is one set of squares. (For those who have had a class from Carol, the first three rows are from the "Basic" family and the bottom three rows are from "Earth.")
Each square and the larger piece are labeled with the numerical code for that color. I then filed the squares in three ways:

COLOR: Little "file folders" (made from envelopes) for gray, tan, and brown:

GRADATIONS: In this section, I have a separate folder for each color on which I did a gradation (anywhere from four to six steps down from the original color).
An example of a 4-step gradation of one color:

FAMILY: This is a master section where I can look up a color by its family (Basic or Earth) and its numerical code.
Hey, all those years of academic life spent organizing information have had a payoff in this arena too!
Further details on the dyeing process for the dyers among my readers: All the samples I did in this last push were done with LWI (low water immersion). This is not as effective for getting solids as full immersion (the method Carol uses when students create their sample books), and the results are not as reliably repeatable, but it is a much easier method for working on one's own, and it's the method I use the most in my own dyeing practice, so I thought it best to make my samples with LWI as well. I also like the gentle mottling that one gets in LWI. Part of Carol's Color Mixing for Dyers I class is also devoted to LWI--highly recommended!
On the issue of how many pieces of fabric can be processed at once? When I have a lot of different fabrics/colors to dye, I find that I can do five containers at once, each holding anywhere from a 1/4 yd to a full yard of fabric. I squirt the dye on the first piece, massage for a while, then move on to the next. When I get to the end of the row, I go back to the first. To get a near-solid, I keep going for about 15 minutes, which takes me through the line three or four times.

Girlfriend, my you are organized! What a system. I really admire your patience and dedication to the creative spirit. I just go shopping! jill
ReplyDeletethe colours are utterly gorgeous, i could sit in front of these for a long time. and the organisation makes my inner nerd very happy.
ReplyDeleteIt sounds like this ambitious and impressive project benefited from your still relatively new "retired" status!
ReplyDeleteCookie