Showing posts with label Derse. Show all posts

May 25, 2019

Back in the studio

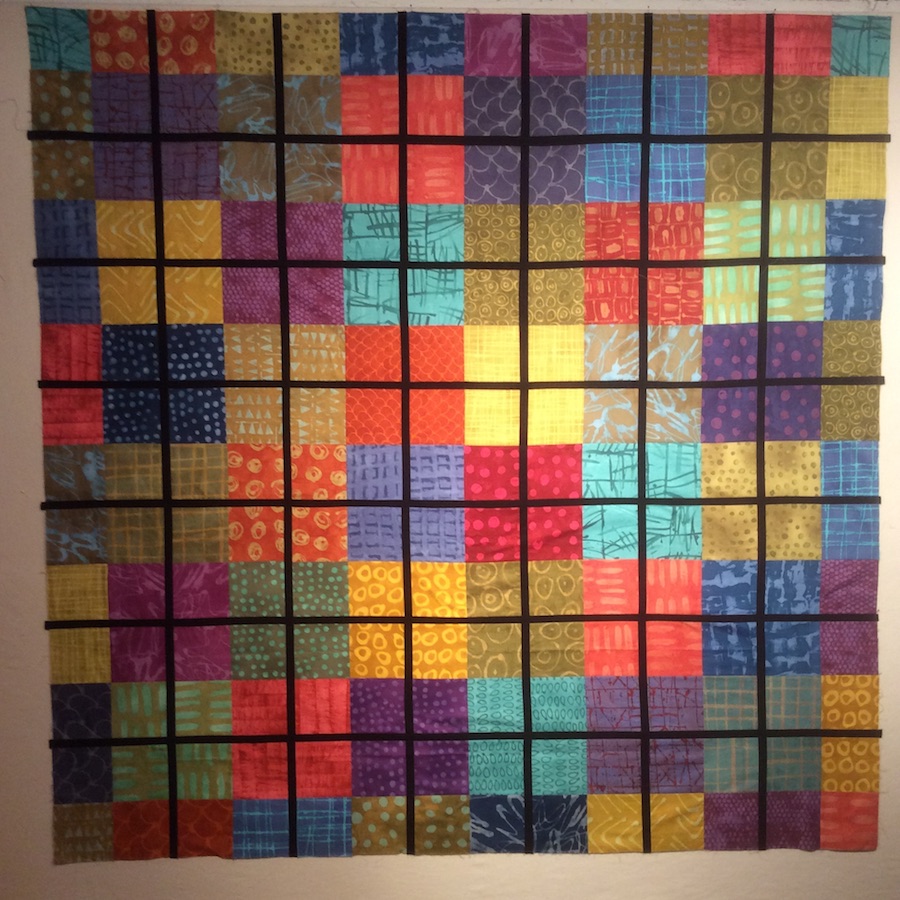
With prepping my studio for painting, putting it all back together again, and then a two-week trip to France, I was out of the studio for all of March and April. Once I got home, I spent a couple of weeks working on small projects, but then a week ago, I put Jeremy's wedding quilt blocks back up on the design wall, and have been working steadily on it since.  I start each day making a block and building up my supply of smaller units. It feels good to be working on it again, and I now have enough blocks up on the wall that I can get a sense of the overall impact.  I am happy with the direction it is taking.


The quilt will be about 60" wide (the width between the two strips of blue painter's tape on the design wall) and about 90" long (marked by the strip of tape on the heat register at bottom left). Right now I have 29 blocks, all cut to 10.5" high, but with varying widths. The blocks are not yet sewn together. I am thinking about placement as I put finished blocks on the wall, but there will be a good deal of adjustment once all the needed blocks are sewn.

I did complete one small top in early April, at a four-day retreat in Chicago with my friends in Quilters by Design:
42 x 42"

This started as a "travel appliqué" project, made with my hand-dyed fabric, and using the design of quarter-circles that I made in another quilt, described here (interesting to see how different the same design can look with different fabrics). For a year or two, I carried around gray squares with basted circles. When they were done, I cut them in quarters and sewed them back together. I chose colors based on my bedroom--this may end up as a wall-hanging for that room.

And here's an account of the small projects I completed after I got home from France:

First up, I spent time designing and basting a new travel appliqué project. I like to have appliqué to do as handwork with me when I travel, but there are requirements: it has to be relatively small, and it has to be working with complete single shapes, not layering one shape on another. I had such a project with me in France, but it was something I had done before--a repeat of a Japanese crest design. It happened to be a relatively challenging piece (many very narrow pieces), and that, along with the fact that it was something I'd already done, added up to a not very enjoyable project.  When I got home, I actually threw it out, about 1/3 completed. I was highly motivated to have another project lined up before my next trip, whenever that may be.  I decided to something along the lines of this quilt, done about 10 years ago from a purchased pattern:


I decided to go with just rows of applique, no striped borders. I sketched out a design in Photoshop, experimenting with shapes and colors, and figuring out the dimensions


I kept the dimensions as designed, including placement of narrower rows, but did further fiddling with shapes and colors. The shapes are now all basted onto rows of yellow fabric. This way, I can take a couple of rows of fabric with me on a trip. I'll sew the rows together once the appliqué is done. 

will finish at 36 x 42"

Hmm, looking at this photo, I think I may need to un-baste the orange triangles and place them a little further apart.

Next I finished up a small "structured improv" quilt that I started at the quilting retreat, using an improv method that Jill Guffy taught to us.
36 x 42"
Then I finished a round table mat for my sister, to go with some placemats I made for her last year; it just needed trimming and binding.

diameter 29"

And then I spent a few days making a large supply of luggage tags--a fun way to use up small pieces of fabric in my stash. I like to have a supply of these on hand, and I had just given away my last one. Usually I make about 10 at a time, but it always takes me a while to warm up and remember how to make them efficiently, so I figured I would just keep going, and I ended up with close to 4 dozen.

17 different fabrics

44 tags total
And soon after my return, I sandwiched up the half-circle applique project (including dyeing some gray fabric for the backing) and started hand-quilting it. Right now I'm doing a grid of ditch-quilting in the seams, and will likely add additional lines of quilting in two directions in the middle of each small square. Each day after breakfast, I do about 20 minutes of hand-stitching, before going up to the studio. Soon it will be nice enough to do this outside on our back deck--it just has to stop raining. . .


September 2, 2018

More uses of Marcia Derse's fabric

As I mentioned in the last post, I purchased about 20 half-yards of Marcia Derse's fabric, which was more than enough for the wedding quilt I was planning. I figured how much I needed for that, and used some of the excess to make placemats for my sister's large, round dining room table.  I used the same design as for my own kitchen table, a wedge shape that works really well on a round table. Here's my own set, made out of Japanese daiwabo fabric:


But my sister's table is a lot larger than mine, and the placemats look pretty lonely!


I decided to make a round mat for the center of the table, large enough to cover the central glass circle, or perhaps even to cover the black circle of the structural support.  Earlier this summer I started working on it, using fabric left over from the wedding quilt. I decided on improvised curved piecing, constructed one quarter-circle at a time. Here it is in progress:

 Once I got beyond the first several arcs, I had to piece chunks of fabric. Here's an arc made of three pieces of fabric:


Then the already pieced section gets laid on top, as shown below. Next step was to cut along the edge of the already-pieced section, and then I pieced them together.


Here's the final piece, roughly trimmed. I'll wait to decide on the final size until I can see it on my sister's table.

The quilting is a simple wavy line, spiralling around from the center outwards:


When trimmed, it could be left somewhat irregular in shape, or can be trimmed into a clean circle. Using Photoshop to mask off the edges, a circle would look like this:


My sister will get to choose, but maybe she'd like your advice :-)

September 1, 2018

Three wedding quilts

I've had the pleasure of giving three quilts as wedding presents in the last six months.  I'll show them in the order of the weddings:

The March quilt was made from a pattern in Modern Triangle Quilts, by Rebecca Bryan.  Here's a photo from the book:
pattern by Rebecca Bryan
And here's the version that I made. 

you can click (or double-click) on any image to see it larger
After consultation with the prospective bride and groom, we changed the background color to a dark indigo (dyed with Dharma's "indigo" color), and tweaked the colors in the blocks include some blues and black. The blue fabrics I used were also hand-dyed (lighter values of the same color used in the background), while the rest were commercial solids. I used the pattern for guidance on placement of the four large triangles (16" tall versus the rest that are 8") and for the approximate proportion of background to blocks. Although the blocks have an improvised look to them, they are actually done according to specific instructions, with some paper-pieced.  I thought I'd start out with the blocks in the book, and then branch off into improvisation, but it was interesting to try out the different block patterns, so I stayed with those. A friend said the quilt reminded her of the pennants that sailboats fly, so I called it "Regatta." For the back, I dyed fabric in one of the yellow/gold colors, and incorporated some leftover triangles, both pieced and plain.


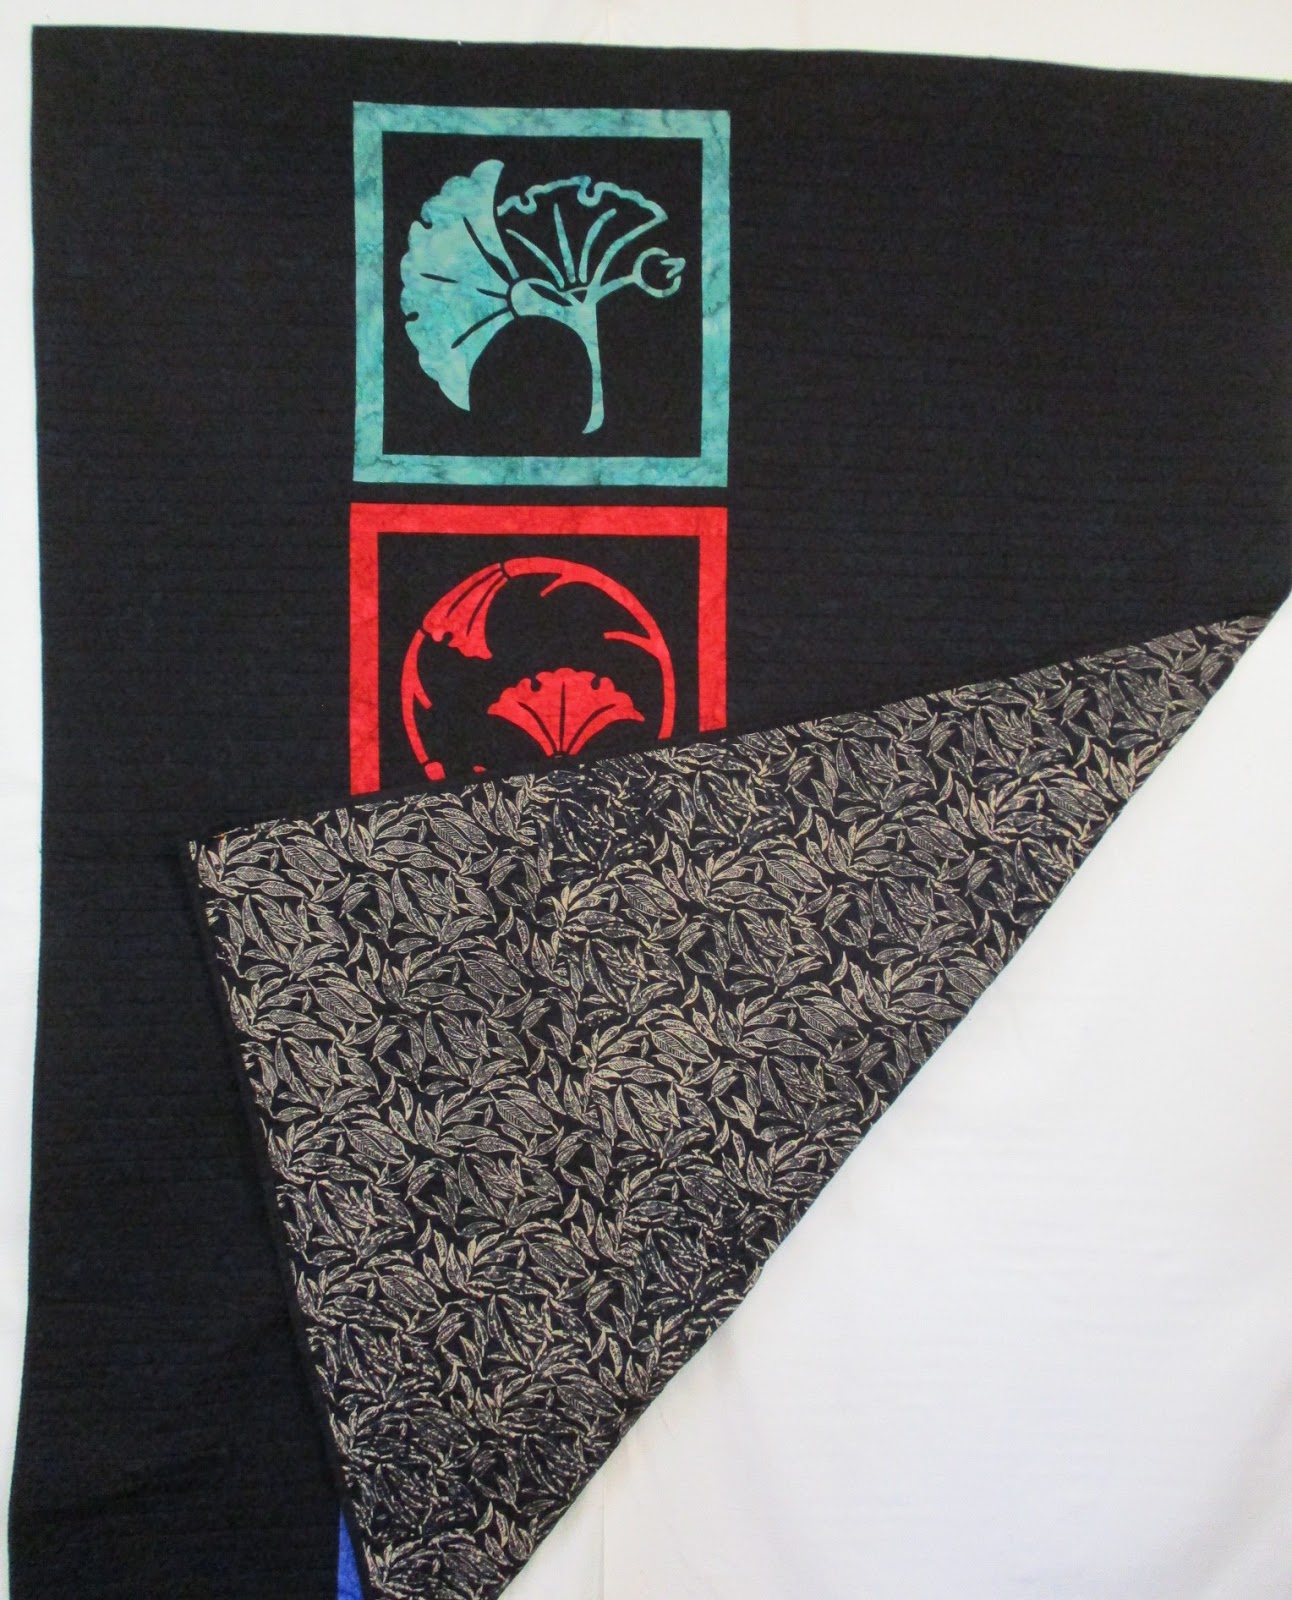
The July quilt started some time ago as a "travel appliqué project."  I like to have hand-work to take on trips, to help pass the time in airports, on planes, or in the car. In the car, knitting works best; if it's a plane trip, I bring appliqué. But it has to be "one-piece" appliqué, something where I can baste on one large shape and sew, without having to carry around a bunch of little pieces that go on one at a time. (Actually, even when I'm not travelling, I prefer the one-piece variety.)  I bought this Roxanne Products pattern some years ago, five gingko leaf patterns based on Japanese family crests:

pattern by Roxanne Products

I've been working on one or another of these blocks for a few years, thinking I would likely put them into a wall hanging, as shown in the pattern. But as I was finishing up the last block this spring, I got news of an upcoming July wedding, and I thought it would be nice to use the blocks instead in a lap-sized quilt to give as a present. I purchased several yards of a black and gold batik fabric that I planned to use for the background, and brought everything to the four-day spring retreat of the Quilters by Design group. I was thinking that I'd lay out the blocks as shown in the pattern, using the batik as background, and then just have a large block of background at the bottom. No one was enthusiastic. Ideas were offered and tried out. Forget the gold/black batik--I changed to the same almost-solid-black batik that I used in the appliqué. And forget the block layout in the pattern. As we moved blocks around, someone called out "Posh Tot!" referring to a Blue Underground pattern by Christy Marnell (an original member of our group) that many of us have made.  Here are a few that I've made as baby quilts:


Yes, the gingko blocks are very striking when laid out that way! A real tribute to how opening one's work up to critique can result in significant improvement :-)


I did free-motion quilting within the blocks, and straight-line horizontal quilting on the left and right panels.  The black/gold fabric found a home on the back of the quilt.


Finally, the quilt for the August wedding. This one used a pattern by Heather Harding called "Talofa Samoa," made with fabrics for Hawaiian shirts.
pattern by Heather Harding
A couple of years ago, I saw a quilt from this pattern made by my friend Kathy Durochik, using fabrics by Marcia Derse, fabrics I like very much and have used in smaller pieces, like the first table runner in this post, as well as in table napkins (which led me to screen print my own fabric to make napkins). I loved Kathy's version of the quilt, and when I was later at Marcia Derse's shop on Whidbey Island, I bought about 20 half-yard pieces, planning to try my hand at the same thing. Here's Kathy's version:

Kathy Durochik's version
 And here's my version. The pattern is such a nice vehicle for Marcia Derse's beautiful fabric.

For the back, I hand-dyed some green fabric (which turns out to be a favorite color of the bride's). If you click on the image to enlarge it, you'll be able to see the quilting, more visible on the back. This one I took to a long-armer to do an overall design.


* * * * *

All three of the recipients (two brides, one groom) were people who had grown up knowing my son Jeremy, and one of them was an especially good friend.  It was a great delight to be included in these celebrations, each of them thoughtfully put together, permeated with the personality and commitments of each couple. But by the third, all so close together, I couldn't help but feel a deep sadness too, that Jeremy didn't make it to this stage of life. . .  Sitting here thinking about this, it occurs to me that I could still make a wedding quilt for Jeremy, imagining what he might like. I think his favorite color would still be blue.