I've been working on screen printed napkins off and on for about 18 months now, since a
workshop with Claire Benn in October 2016. At this point, I've developed nine patterns that I like, and about 10 colors, with about that number again tested and put aside. Through the sample making, I now have a large supply of lovely napkins for myself, and I look forward to making more for occasional house gifts. I'm thinking that before a stay, I would send my host pictures of the colors, patterns and possible types of sets, and ask what they would like as a gift.
Double-click on any image to see it larger.
Here are some sample sets:
 |
| ONE BASE COLOR, four different patterns, 3 different screened colors (navy, black, burgundy, black) |
|
 |
| ONE BASE COLOR, four different patterns, one screened color |
|
 |
| on each napkin, ONE COLOR, TWO TONES |
|
 |
| ONE PATTERN, different colors |
|
 |
| ONE PATTERN, different colors |
|
 |
| ONE PATTERN, different colors |
|
 |
| MIXTURE-1 |
|
 |
| MIXTURE-2 |
|
 |
| MIXTURE-3 |
|
Here are the color combinations that I like. (For variations of blue on plain muslin, scroll down to the table of images of all the patterns.)
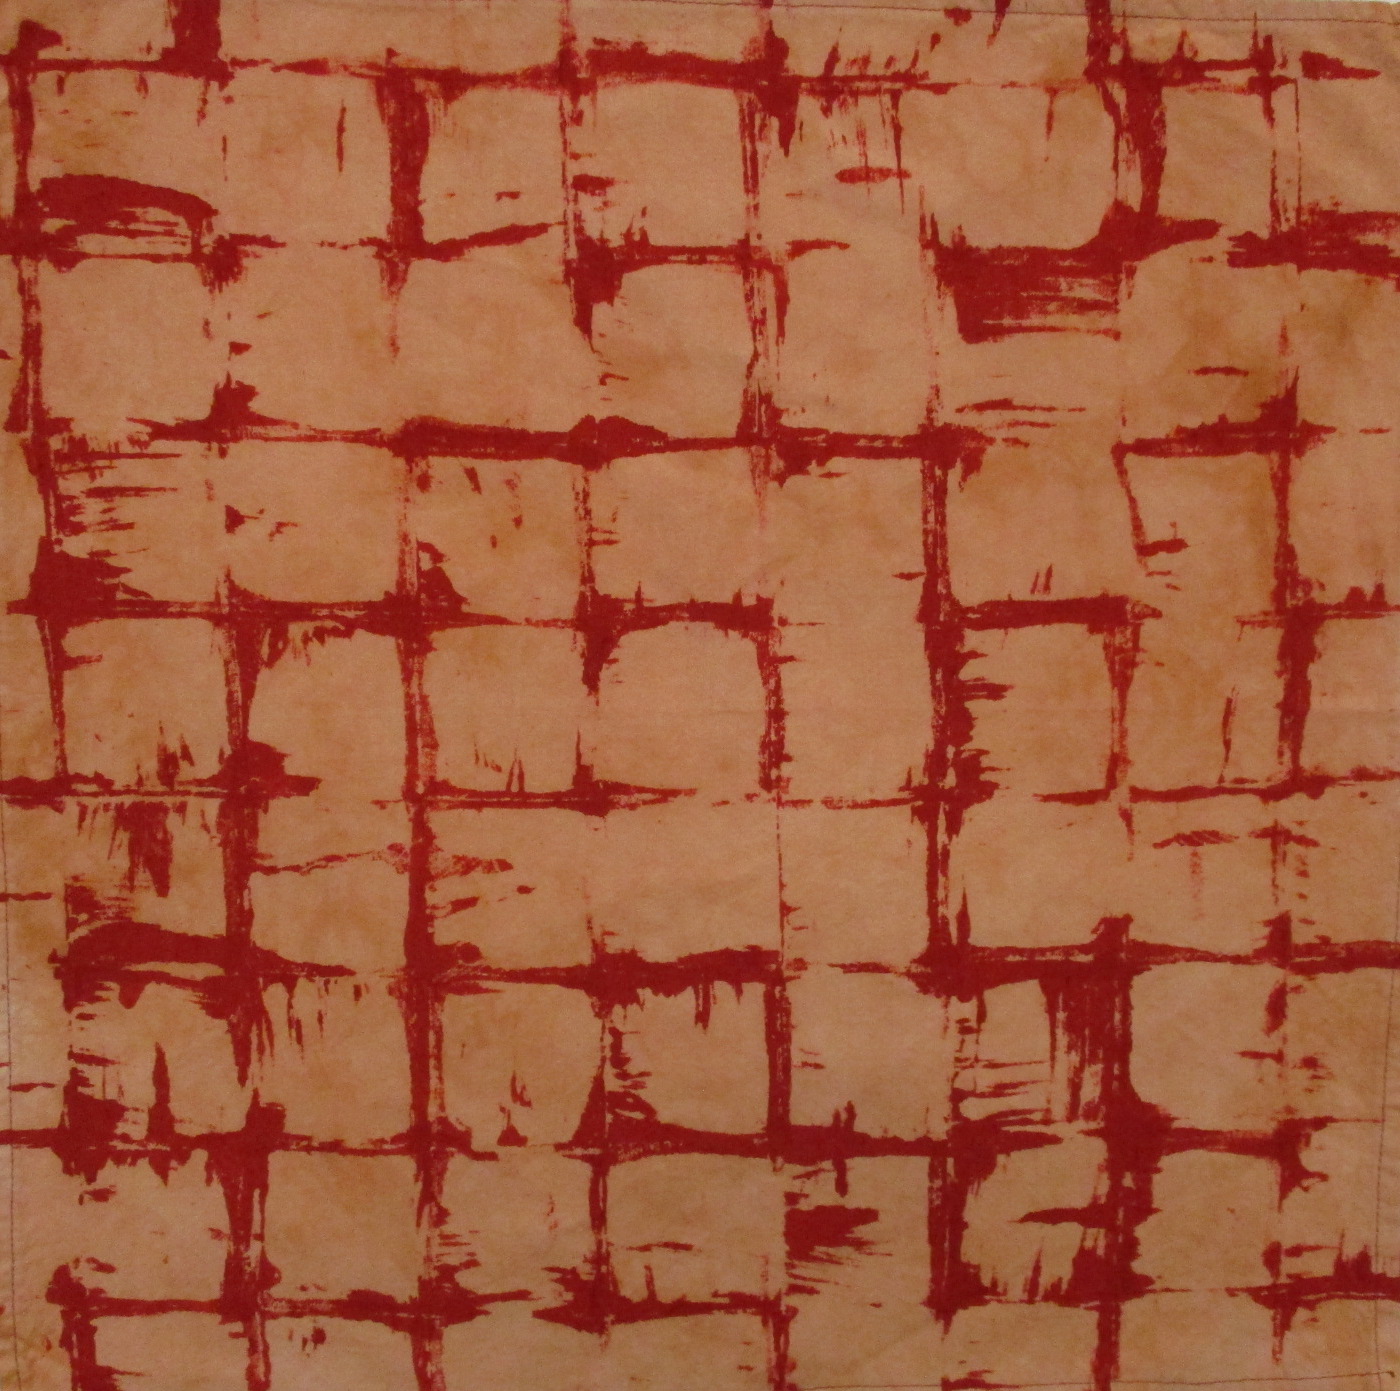
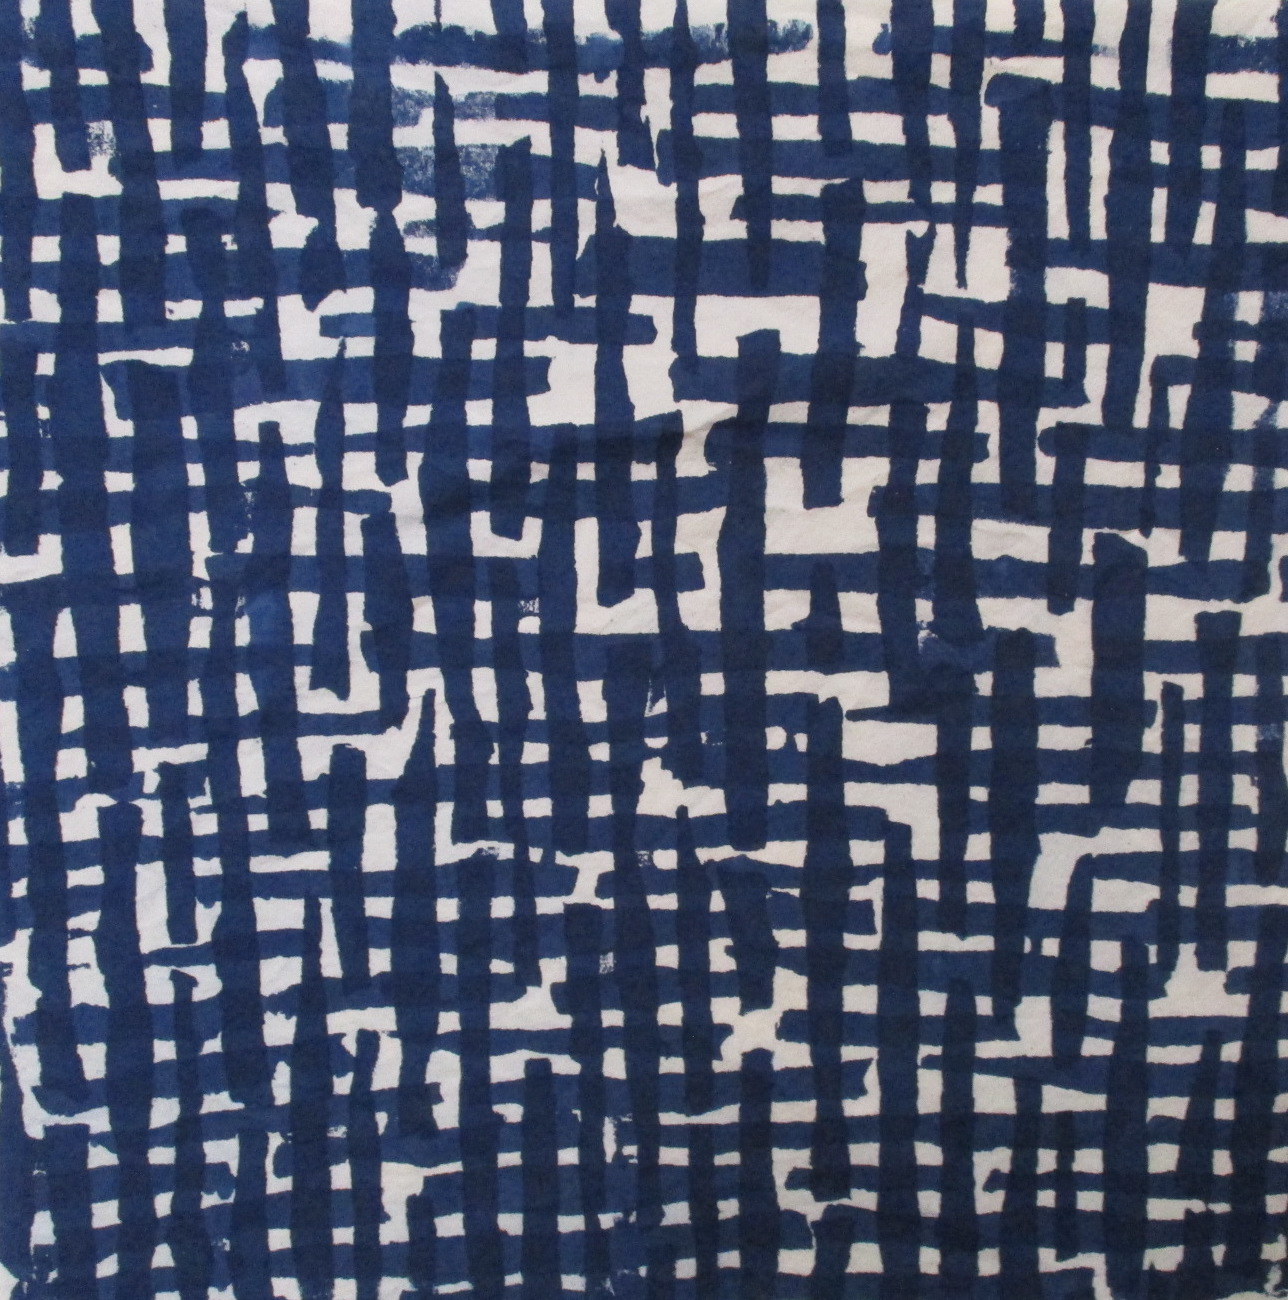
And here are all the patterns, screened on a base of plain muslin with either one pull of dark blue, two pulls of dark blue, or two pulls of one dark and one medium blue. Further explanatory notes on how each screen was made follow the photos. (Note, there is some backstaining when washing out the dye, so the base color on plain muslin ends up a very pale grayish blue, rather than the cream color of the original muslin.)
 |
| bowls |
|
 |
| bowls-over-printed horizontally |
|
 |
| clover |
|
 |
| cross-hatch |
|
 |
| quote |
|
 |
| quote-fragmented |
|
 |
| squares-open |
|
 |
| squares-filled |
|
 |
| vines |
|
All the above designs were made with paper-laminated screens. For an explanation of the basic process, scroll down in this post. I realize that much of the explanation below of individual screens will likely be confusing to someone who hasn't done screen-printing, but at least it will give you some sense of the method. And since the original post, I made a couple of additional screens through a photo emulsion process, described here.
 |
| baklava (photo emulsion |
|
 |
| quote-diagonal (photo emulsion) |
|
BOWLS: I made a dozen or so stamps in a bowl shape, cut from a double layer of adhesive foam sheets and then stuck on foam core (easy stamp method learned from Carol Soderlund). I stamped onto the screen with matte medium. For the more complex over-printed design, I printed once with the screen in a vertical orientation, and then a second time with a horizontal orientation.
CLOVER: This is a motif taken from line-drawings I did several years ago. I put the design into Photoshop, made it into a repeat, printed it out, and then put the printout under the polyester to serve as a guide for drawing the design onto the screen with matte medium. (The drawing implement used is a squeeze bottle filled with matte medium.)
CROSS-HATCH: I ripped up pieces of masking tape and applied them to the screen in broken vertical lines, then pulled matte medium through the screen. When the medium had set, I pulled off the masking tape. The cross-hatch design was made by pulling the resulting screen twice, once in horizontal orientation and then in vertical.
QUOTE: The quotation is from Martin Buber: "When one eats in holiness, the table becomes an altar." I wrote out the quote in capital letters with matte medium. The screen has been pulled twice, once vertically with a dark blue and then horizontally with a medium blue. On the first version, the lettering is somewhat readable if you know what you're looking for. For the "fragmented" version: I made a reversed second screen from the first, so that I could be printing the letters themselves rather than the background. Much detail of the letters was lost in the process, but I love the fragmented look. This was printed twice, horizontally and vertically, but all with the same color blue.
SQUARES: These two screens were made by using a 2" plexiglass square as a stamp (method/design from Claire Benn). I brushed the square lightly with what Claire calls a "manky" brush--a brush where the bristles have been cut into. In the first screen, the matte medium was applied rather heavily, so the squares are almost entirely blocked from the screened dye, and you see mostly the margins between the stamped squares. This was screened twice, horizontally and vertically, to get enough of a design on the cloth. In the second screen, the matte medium was applied less heavily, and you get more of a sense of lines across a number of the squares. This was screened just once.
VINES: This design is based on a quilting design that I use frequently. I drew it on the screen with matte medium. The screen has been pulled twice, once horizontally with a dark blue and then vertically with a medium blue.
BAKLAVA: I took a photo of a recently-baked tray of baklava and manipulated it through filters in Photoshop to get a simplified image. That photo was then used to make a screen through photo emulsion.
QUOTE-DIAGONAL: Same quote as for the other screens, but printed out quite small in capitals using a Wacom tablet, so that the image goes directly into a Photoshop file. In another layer, I turned the diagonal 180 degrees to get overlap, leaving one with the sense of letter forms, but the words are not readable.
And for any bloggers out there who wondered how I got the images nicely set into tables, see this helpful
tutorial by Sharon Brennan.


Wow. What a project. The images are nice and crisp too!! They all look wonderful!
ReplyDeleteWow! These are beautiful!! I need to try this. Thanks for the inspiration.
ReplyDelete