I found a pattern in a book about stenciling that I think will work well in the border of this quilt--it is similar to some of the shapes in the applique, but doesn't duplicate any of them exactly. But what colors to use? My first trial is above, all in dark blue. I'd like to get in some of the other colors, though--rusty red, lighter blue, dark green. I spent the morning today cutting out shapes in various colors and trying them out. Here are a couple of options with a view of the whole quilt; then I'll show some close-ups.
This one alternates red and blue in the flower shapes and uses green for the leafy shapes on the outside.
This one puts the red flowers on the outside and blue in the center. I also tried out a solid curvy line down the middle rather than the broken line, which was determined by the stencil-nature of the original pattern. I think the broken line works better for the quilt as well.
There's also the question of the color of the inner border. On all the photos above, you can see a dark blue inner border at the top and a red/orange border at the bottom. I haven't made a choice yet.
I also don't have to have the colors in the applique panels the same for each iteration; it could be a more random scatter. There are many, many, possibilities. It's good to do trials like this, but it would be helpful if I could figure out a choice by using design principles. It's the multitude of choices like this that led me to the FunQuilts Design Camp in 2005.
Beyond the colors, there will be one more decision. Will I center just one of these panels in each of the four borders, or will I repeat the panel a number of times on each side? Three panels would fit on a side, so I may just start with one in the middle and see what I think when that's done.
Here are closer shots of a number of trials. I'm going to wait a while to decide. If you have a preference--or you can help me with thinking it through in terms of design principle--do let me know! (Sorry for the long "list" of photos--I need to learn how to make a table in Blogger so I can show things like this side by side.)
March 1, 2011
February 27, 2011
Sawtooth border added to appliqué quilt
I spent a satisfying day sewing yesterday, adding a sawtooth border to my appliqué quilt. The colored triangles are mostly the very dark blue that predominates in the appliqué, but I also used a smaller number made from the other colors—green, light blue, brown, and orange/red (more visible in detail below). The next step will be a 6" border, repeating the light gray background with some kind of appliqué design. So, the next step is to figure out a border design that will work with the variety of motifs in the squares.
February 21, 2011
Machine stitching a binding
This Saturday I got together with several quilting friends from the Chicago area for a day of showing our work recently completed or in progress. We had a great time sharing ideas and getting feedback on our work. The issue of machine stitching binding came up, and I mentioned that I'd been helped by some online tutorials. I thought I'd share the list here, in case anyone else is interested too. I've listed a number of tutorials below--one video, the rest photos and text. How is it I have ready access to a list like this? They're all things I've saved as I've come across them to "tada lists"--a nifty site for saving lists of one sort of another. I searched for the term "binding" in my list for tutorials, and easily found what I was looking for. If you're curious to see what other tutorials I've collected, you can see my full list at: http://pgold45.tadalist.com/lists/1291659
Start by sewing binding to front
sew binding to front, pin binding all around and sew in the ditch for a straight-stitch finish on the back--Judy Laquidara (video tutorial—very clear)
same method from Melody Johnson:
and from Rita of Red Pepper Quilts (she pins a little differently; very clear instructions—scroll down some to get to this final part of the binding instructions)
Marny & Jill do something very similar, using clips instead of pins to secure the binding, and using an edge-joining foot):
Start by sewing binding to back
sew binding to back, finish on front with a narrow zig-zag stitch (Wanda Hanson). Mary Beth Clark sometimes uses this method, often using a machine blanket stitch. This method shows more on the front, but can be done without pinning, and without any worry about catching the binding on the back.
February 10, 2011
Big Dots Done
(about 36 x 42")
I'm pleased with the finished quilt! I had fun with the machine quilting of this one. I quilted the dots first, with several different patterns used. Then I came up with an overall design for quilting the background that I'm very happy with. My favorite design in the dots is this "Flower Ball" design from Leah Day.The light blue dot below has another Leah Day design: "Stomach Lining." Thee rusty red dot has a maze, and the olive green dot has a lily pad design.
Next: The final design I used in the dots is a bunch of spirals, below in the light blue. The background design is a maze (like in the navy blue dot below), but with the occasional curved line thrown in. That made it more interesting to do, and I like the look, too. Double-click on the image for a better view.
And here's the back, a piece of snow-dyed cotton I did last winter.
While I am very happy with the quilt as it turned out, I wouldn't do this design again--turns out I didn't enjoy working with circles so much. I thought I'd try a different placement from that suggested in the pattern (dots spread equally around), but I couldn't come up with anything. I also found it quite difficult to find a pleasing arrangement with the equal spacing--not as simple as it looks! I think I'll try something similar in another quilt, but use rectangles rather than circles.
About my final choice for the machine applique technique: Thanks for all the comments and suggestions! I was about to implement Judi's suggestion of a line of straight stitching close to the edge, which looked very nice on a sample, when I saw a tip in a recent issue of American Patchwork and Quilting, suggesting a very narrow zig zag stitch. You can see the comparison of these two below (double-click). I went for narrow zig zag in the end. (The tiny holes in the cloth below the zig zag are from where I ripped out the straight stitching to try the different stitch.)
A little about thread for the quilting geeks among you: For quilting the dots, I had on hand suitable colors of my favorite thread for both piecing and quilting, Aurifil cotton, 50 weight. But I didn't have any that would work for the background. So I tried a new thread that I had picked up several months ago in Chicago; I had purchased a set of six small spools of 100 weight polyester thread. The pale apricot color quilted up very nicely (used on top and in the bobbin). It's WonderFil Invisafil thread, should you be interested. Almost transparent because of how thin it is (almost like silk), but with color.
And some disappointment in the finale: I just took the quilt out of the dryer. One of the fabrics (navy blue) I used for the dots was not my own hand-dyed; can't remember where I got it. It bled badly in the wash. I guess I'll try washing again with a Shout Color Catcher sheet, but it's undoubtedly too late. I should have thought of that when I threw it in the washer! I was so confident about my own fabrics (all the rest), that I forgot about the other. Here's a close-up.
And the whole quilt. Not entirely ruined, but marred. Sigh.
Labels:
Big Dots,
Invisafil thread,
machine applique
January 27, 2011
A new project: Big Dots
Finally, I've carved out a day at home to sew. I'm treating myself with beginning a new project, a baby quilt that will be called for next month. I'm going to do "Big Dots" from Quilts Made Modern, a new book by Weeks Ringle and Bill Kerr of FunQuilts. The quilt will be about 20 big circles appliqued onto a solid field. I decided to use some of the hand-dyed fabric I made up this summer for the dots (rust to navy above), but I didn't have a large piece of an appropriate color for the field. I decided to dye up a new piece for this, choosing a pale peachy orange from the sample book from Carol Soderlund's class. I was dubious about whether this would work, because one is always told that dye needs 70 degrees or warmer to bond with the fabric, and I don't keep my house that warm. Some people warm up the container by putting it on a heating pad, but I didn't want to bother with that. Frieda Anderson, who taught at my local guild in October, had encouraged me not to worry about the temperature--she dyes through the winter in her basement, which is definitely not 70 degrees. So I went ahead and tried it out, and it worked beautifully. The resulting color is perhaps a slight bit paler than the sample I was aiming for, but that's perfectly fine for this project. Success!
The directions for this project recommend machine applique for the dots (about 7" and 9" in diameter). I've always done needle-turn hand applique before, but decided to challenge myself and learn the technique recommended in the book, which involves using freezer paper templates, basting around the edge and pulling the thread ends to turn under the edge, and then using zig-zag stitch on the machine to sew the dot to the field. The "freezer paper and pull-the-thread" technique is quite nifty, and gives a really smooth edge. Here's a sample I did with some other fabrics.
I tried two different machine stitches. To the left of the arrow is a blind-hem stitch; to the right is a narrow zig zag.
I'm not sure which I prefer. The zigzag lays a little flatter, but the blind stitch is less visible (except for that run of stitches around the outside of the circle). Of course I could make it really invisible by switching to hand-stitching. Any advice on which you think looks better? I'll also be machine stitching the quilt once it's put together, so that will be another layer of stitching.
The directions for this project recommend machine applique for the dots (about 7" and 9" in diameter). I've always done needle-turn hand applique before, but decided to challenge myself and learn the technique recommended in the book, which involves using freezer paper templates, basting around the edge and pulling the thread ends to turn under the edge, and then using zig-zag stitch on the machine to sew the dot to the field. The "freezer paper and pull-the-thread" technique is quite nifty, and gives a really smooth edge. Here's a sample I did with some other fabrics.
I tried two different machine stitches. To the left of the arrow is a blind-hem stitch; to the right is a narrow zig zag.
I'm not sure which I prefer. The zigzag lays a little flatter, but the blind stitch is less visible (except for that run of stitches around the outside of the circle). Of course I could make it really invisible by switching to hand-stitching. Any advice on which you think looks better? I'll also be machine stitching the quilt once it's put together, so that will be another layer of stitching.
January 16, 2011
Travel appliqué put together--and borders?
I decided to do the "on point" diagonal setting for these blocks, but to take a row off at the bottom so that I didn't have to make more blocks. The top as is comes to 64" square; I'll add a couple of borders, which will make it a good size for a throw on our couch. The gray used for the setting triangles and corners is a little lighter than that used for the squares--an accident of different dye lots for this Kona cotton, but I actually like the slight contrast. This arrangement leaves me with a couple of "orphan blocks," but I have good uses for them. One of them was not a favorite; I can use it to do some trial quilting. The other was a much more intricate design than the rest, and in a different style. I think I'll put some borders on it (below) and make it into a wall hanging; the single block is 15" square:
Then I auditioned a couple of different border possibilities: a sawtooth border and a plain strip (one above the other in photo on left below). Better to combine them--first a plain strip and then sawtooth outside that one (center). I also tried out a dogtooth design (the "mountains" on right), but like the sawtooth better.
Next is one of my least favorite parts of quilting--doing the math in order to figure out how to get the sawtooth triangles to fit neatly around. This is what usually keeps me from doing anything except the simplest borders! But since I'll be inserting a plain border before the sawtooth one, I should be able to size that border in such a way that the math for the sawtooth pieces comes out. This is a task that must wait until I'm feeling sharp. Now, if my mother (former math teacher) were alive, I could give her the measurements and she would enjoy working it out!
January 11, 2011
Travel appliqué
I like to carry appliqué with me when I travel, and a long trip last month--almost four weeks away from home--gave me a chance to finish up a few more blocks in this very long-term project; I only work on it when I'm travelling. These blocks will be trimmed to 15"; I have one more basted up that I'm still working on. If I do a diagonal set like this, I'll need to make six more blocks; the side triangles will probably be plain grey. If I do a straight set as below (to which I would probably add sashing), I just need the one more that's in progress. Cutwork applique like this works really well for travelling, as I can baste the whole block together before I leave home and not worry about losing little pieces. I didn't do a lot of planning in the blocks--just picked designs I liked. Not sure this ends up being the best design overall, but I got a lot of pleasure in the making of it.
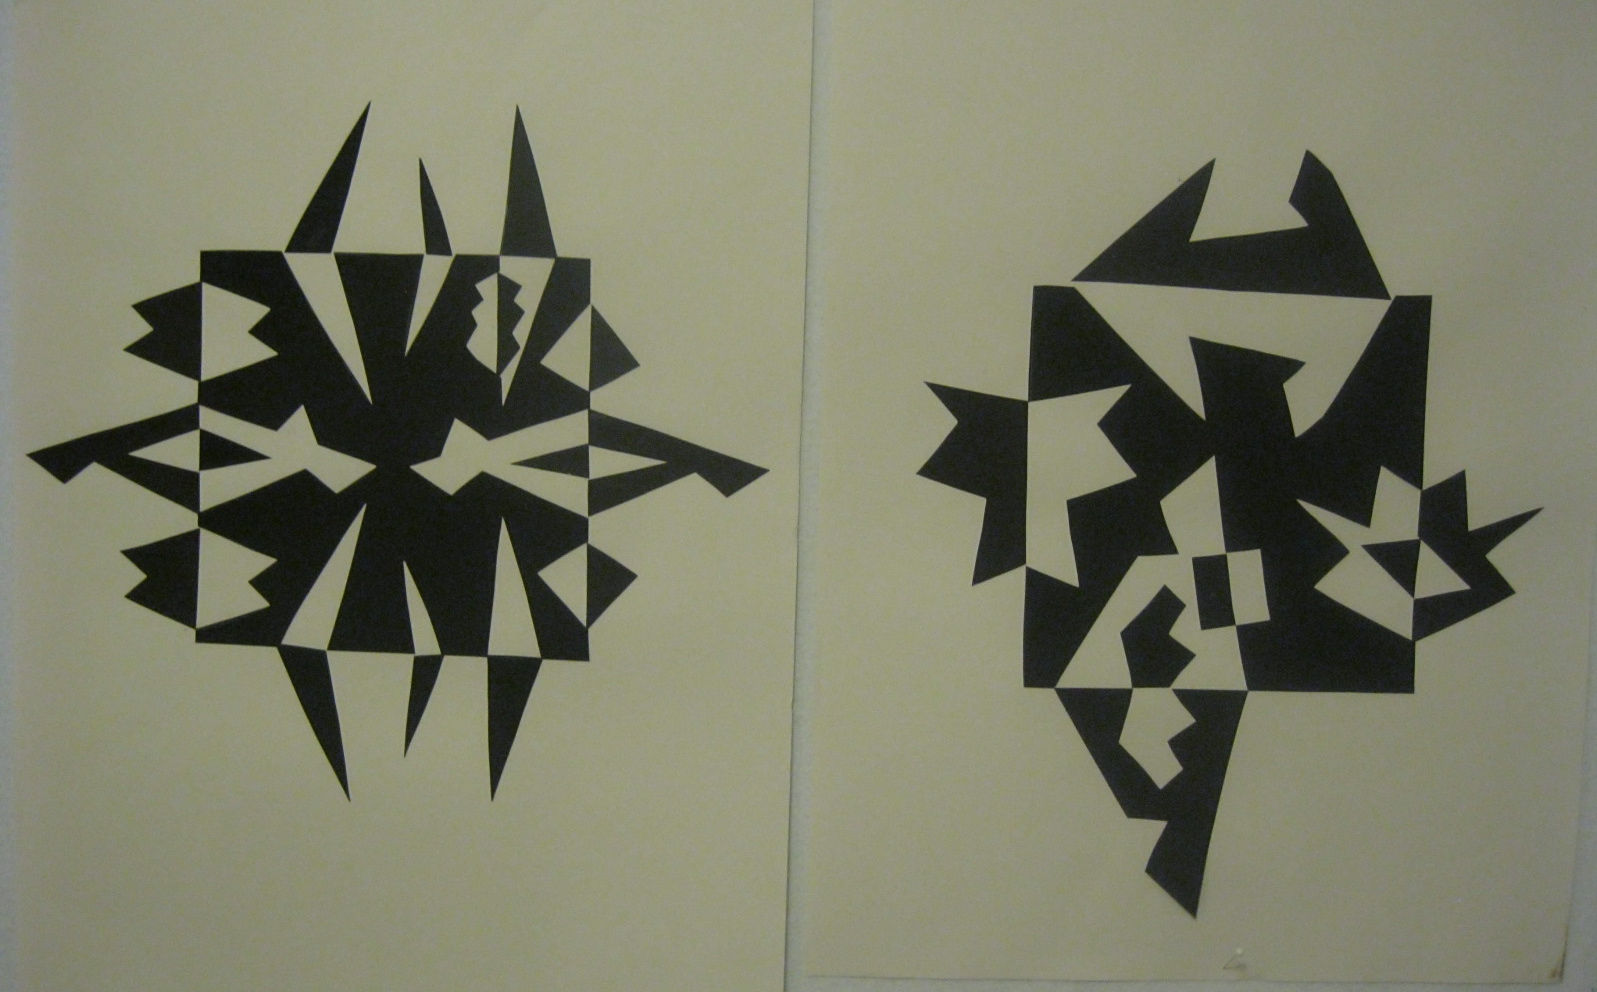
Being without a sewing machine for a month, and knowing I had to limit how much hand-sewing I did (because of the pain I've had in my hand), I decided this would be a good time to work through the Notan design exercises in the book below, something I've been wanting to do for a while. One of the weeks away was in a rented house in Hawaii (the Big Island), a beautiful, quiet place up a mountain, in rainforest landscape. It was lovely to sit out on the lanai and cut and paste paper.
Here are a couple of tries at the "expansion of the square" exercise.
Here's the house we rented, for a very reasonable price.
This is the back yard. I spent some very pleasant time sitting out here with my applique or a book.I would highly recommend this particular rental, which you can find here: http://www.vrbo.com/61570.
Subscribe to:
Posts (Atom)