My two posts so far are "Bringing Stitching Forward," which talks about the influence on my work of taking a drawing class, and "Letting Go," which shows how a workshop with Dorothy Caldwell brought that influence to the arena of stitching. Some of the photos will look familiar to you from earlier posts on my blog, but I've added more in these posts, and the reflections are new. (I've also copied the two posts below.)
If you're interested in hand-stitching, I highly recommend that you go back to March 1, 2014 on the blog--when Beata started the month with several posts--to read what she and others have been writing about. It's not the easiest thing to go backwards in blogs. I recommend you go to the main link for the blog And Then We Set It On Fire, and then scroll all the way down to the beginning of the month (which will likely involve going to the bottom and then clicking on "Older posts." When you find March 1, you can then read from there.
Beata's work is inspiring--do check out her blog/website.
* * *
BRINGING STITCHING FORWARD
My attention in quiltmaking has long been focused on color and shape. Choosing fabrics, creating pleasing adjacencies of color, selecting shapes--these have been my main pleasures. Quilting the layers together at the end was often done with reluctance--I loved how the tops looked without quilting. I thought about changing to doing fabric collage rather than quilts, but I love the feel and drape of quilts, and I enjoy giving quilts to family and friends as gifts that can be used. And--I had to admit--the finished quilted product always did look better than the unquilted top.
I have always done some handquilting (reserved for projects that had special personal meaning) as well as machine quilting. Whether working by hand or machine, I found it difficult to think creatively about the stitching; my main question was: what stitching would detract/divert the least from the design I had made through color and shape. Several years ago, I decided to challenge myself to think in a more wide-ranging way about the quilting, to think of the quilting as a kind of drawing, as a layer that could add additional meaning to a quilt rather than just supporting what was already there. I had the good fortune to be able to take an art class at the college where I was teaching, a course called "Drawing in the Expanded Field." The course was about a wide range of 20th-century and contemporary drawing, considering "drawing" in the widest possible sense. I looked at artists familiar to me in a new light and learned about many more; favorites include Sol Lewitt, Agnes Martin, Gego and Eva Hesse. I did a lot of experimental drawing. I learned a great deal, with two things in particular that have an impact on my work in quilting:
1) I love repetition of simple lines and shapes. This is obvious from my attraction to the artists mentioned above. Variation is also a necessary part of the work—but sometimes only the very slight variation that comes from something being repeated by a human hand. There is an obvious connection here to the pleasure I get from traditional hand quilting—one similar stitch after another—and from my favorite style of machine quilting, which is closely spaced parallel lines. There is a kind of control and attentiveness in these processes that appeals to me.
2) But—more of a surprise to me--I also learned that abandoning control can also yield interesting and pleasing results. I'll talk about two examples.
Using a code to generate a sequence of shapes:
One exercise in the class was to find a pre-existing pattern or code, and to use that to generate a sequence of some sort in one's art work. The pre-existing pattern I used was a sentence taken from a book I happened to have open. Then, following the sequence of consonants and vowels, I assigned vowels to be squares and consonants to be rectangles:

I loved making this and others like it, fiddling with various shapes and assigned codes. It freed me from making decisions about placement of each shape—I just followed the code. Yet, because there was some underlying meaning/rule in the originating code (the relationship between consonants and vowels in English words), the resulting pattern of shapes had a kind of in-built balance to it. I enjoyed the combination of freedom with structure.
Cutting things up and re-structuring:
One of my ongoing quilt projects has to do with stones, some pieces focused on color, others on shape. For the ones focused on shape, I was intent to convey the beauty of the myriad curving contours of stones, so I put those curves against a contrasting background, for example, these small pieces made with hand-painted fabric:

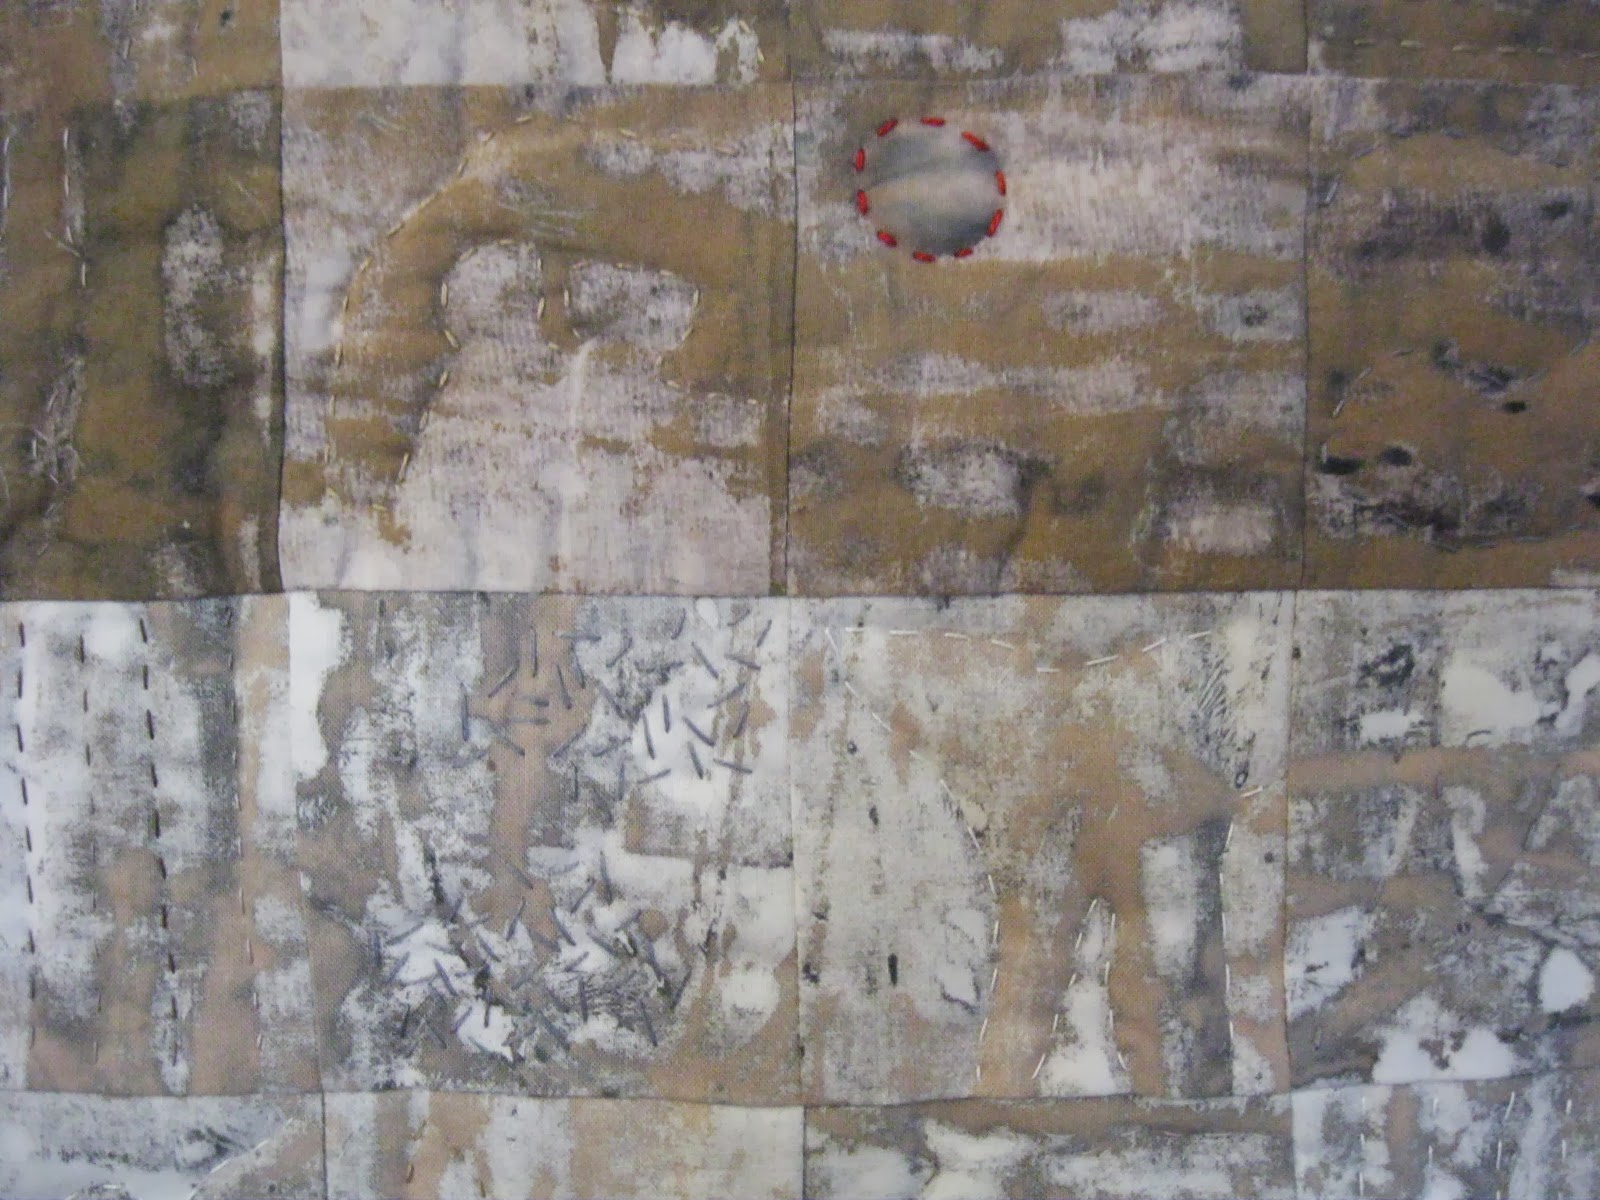
One of the class assignments was to cut up something and then make something from the pieces. I photocopied a number of photographs of stones, cut up the photocopies, and collaged them together. Here's one of the resulting collages, perhaps my favorite piece from this class:

and a detail:

I made straight-edge cuts, and I like how those straight edges play against the curved lines of the stones. This is nothing like the fabric work I had done before, and I never would have gotten here through step-by-step figuring out. It took the leap of cutting up, itself done randomly, without intentionally trying to make particular shapes (other than angular edges).
Buoyed with courage from that experiment, I took the leap, and cut up some fabric stone shapes that I had appliquéd onto fabric, and then put them back together in a new composition:

I do love this small piece (13x14"). But still, what to do about quilting? Once again, I couldn't bear to "interfere" with the shapes, and I kept stitching to an absolute minimum, invisible except from the back.
So, the class taught me a lot about what could be gained by experimenting, and most especially, by letting go of control and of conscious intention. But the impact in my quilt-making ended up being in the areas of color and shape, not in the line of quilting. Yet the groundwork was laid, and when I read a description of Dorothy Caldwell's "Human Marks" workshop, I saw this as a chance to come back to thinking about quilting as drawing, as "mark-making." My next post will talk about the impact of that workshop on my stitching.
* * * *
LETTING GO
As I talked about in my last post, the drawing class I took several years ago taught me that letting go of control could yield interesting and beautiful results. But even though I went to the class with the intention of applying it to stitching, nothing much happened on that side of things. I knew I wanted to do something different, but had no idea of how to go about it. Then came Dorothy Caldwell's "Human Marks" workshop in May 2013, which opened up a whole new arena in stitching for me. I have written about the week at the workshop and about work influenced by it in my own blog. Some of the photos below also appear in that post, but have added new reflections here, focusing on the notion of "letting go."
A number of the exercises in the workshop were directed towards opening oneself up to chance or accident, encouraging us to pay attention to what was happening under our fingers, even if it wasn't intentional. Here are two new directions in my stitching, both stemming directly from the workshop.
Blind stitching
* * * *
LETTING GO
As I talked about in my last post, the drawing class I took several years ago taught me that letting go of control could yield interesting and beautiful results. But even though I went to the class with the intention of applying it to stitching, nothing much happened on that side of things. I knew I wanted to do something different, but had no idea of how to go about it. Then came Dorothy Caldwell's "Human Marks" workshop in May 2013, which opened up a whole new arena in stitching for me. I have written about the week at the workshop and about work influenced by it in my own blog. Some of the photos below also appear in that post, but have added new reflections here, focusing on the notion of "letting go."
A number of the exercises in the workshop were directed towards opening oneself up to chance or accident, encouraging us to pay attention to what was happening under our fingers, even if it wasn't intentional. Here are two new directions in my stitching, both stemming directly from the workshop.
Blind stitching
The photo below shows the results of a blind stitching exercise, where Dorothy would read out a word, and the students, blindfolded, were to make a row of stitches with that word in mind.

When I took off my blindfold, I was enthralled with the second row from the top, made with the word "dialogue" as the prompt. (I intended pairs of stitches, but sometimes I couldn't remember whether I'd done one stitch or two, so sometimes ended up with three stitches together.) I asked Dorothy, "If I want to do a stitch like this again, do I have to be blindfolded?" She answered no, likely not--a good thing, as sewing with a blind-fold on was not something I'd be eager to incorporate into my practice. Looking at the work as it develops is one of the joys of hand-sewing.
Last fall, I tried out the stitch as one included in a sampler piece (more on this piece here):

It is not as "loose" as the stitch done blindly, but that's fine--I like it very much as it is, perhaps even more than the stitch done in the workshop. I think of it as my "conversation" stitch.
Looking at the back
One of the major lessons I took away from the workshop was reinforcement of the idea to slow down and look carefully. To be open to accidental beauty. To look for serendipitous adjacencies/relationships (this last most in play when we were making our small books, looking to arrange pages with interesting juxtapositions). For example, on one of my cloth-book pages, I sewed a trapezoidal piece of fabric I had brought with me.


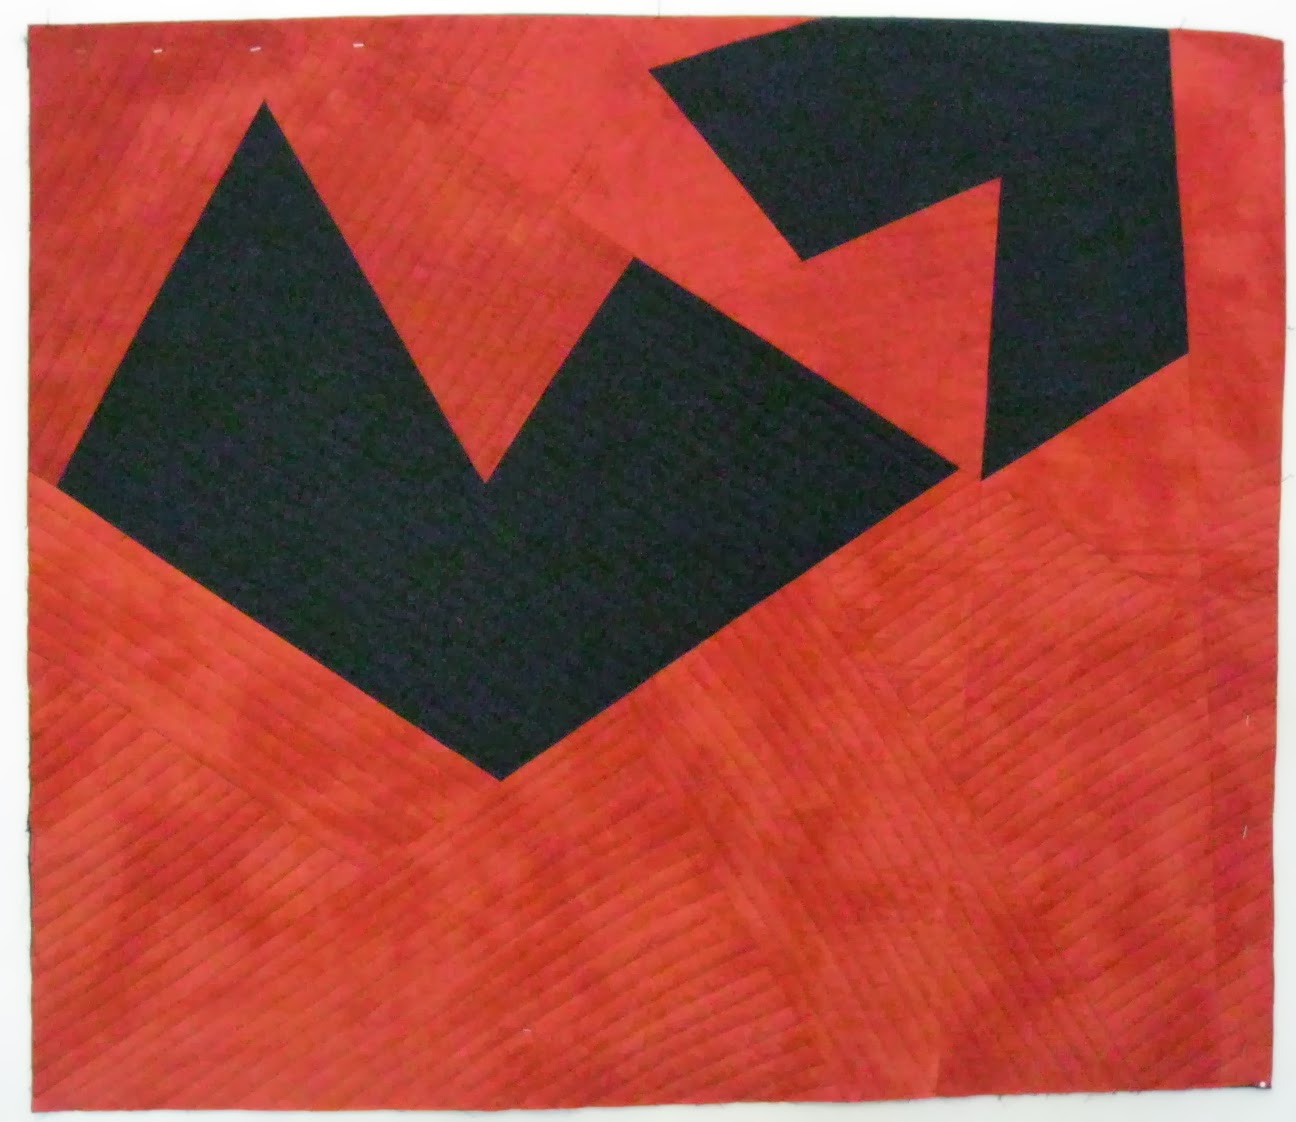
Looking at the back came into play when I turned to a large quilt that had been lined up for machine quilting for some months, but I had been unable to make a decision about the quilting. It struck me that my "conversation" stitch--could contribute to the meaning of the quilt, which is about regret--a state of mind that has much to do with conversations, missing or gone astray. And that sitting with the quilt on my lap for the months it would take to hand-quilt it would be more therapeutic for me than machine stitching. (More on this quilt here.) I started by making the stitch in irregular rows in the upper right black figure (charcoal thread on black fabric). When I looked at the back, I loved the irregular dot-dash lines that were created, and decided to use that as the main stitch on the rusty/red/orange background sections of the quilt. So, for those sections, I am stitching with the back of the quilt facing up, making the conversation stitch onto the back. In this photo, you can see the conversation stitch in the black and it's "back" in the background (this shows about a quarter of the whole quilt):


When my friend Mary Beth was visiting a few months ago, she asked me how it felt to do the more improvisational stitching--did it take more attention/thought than a standard, regular quilting stitch, or less? Interesting--it actually takes more, and I find this to be true of making compositions improvisationally as well. There is an early stage when the point is not to think so much, to let go of concentrated intentionality. This is what generates the free-form stitches or compositions. But once those elements are in place, and one wants to repeat them or work them into a composition, one has to think about it. In repeating the conversation stitch, I had to take care to make it not regular. After months of repeating the stitch, it now comes pretty naturally to vary it without thinking. But there is still more conscious thought involved. It's different from the kind of meditative state that I am more likely to enter if doing a regular, repetitive traditional hand-quilting stitch. I like both.
My last post is scheduled for later this month. In that post, I'll talk about techniques, tools, and materials (including the thread that I hand-dyed for this last project).

When I took off my blindfold, I was enthralled with the second row from the top, made with the word "dialogue" as the prompt. (I intended pairs of stitches, but sometimes I couldn't remember whether I'd done one stitch or two, so sometimes ended up with three stitches together.) I asked Dorothy, "If I want to do a stitch like this again, do I have to be blindfolded?" She answered no, likely not--a good thing, as sewing with a blind-fold on was not something I'd be eager to incorporate into my practice. Looking at the work as it develops is one of the joys of hand-sewing.
Last fall, I tried out the stitch as one included in a sampler piece (more on this piece here):
It is not as "loose" as the stitch done blindly, but that's fine--I like it very much as it is, perhaps even more than the stitch done in the workshop. I think of it as my "conversation" stitch.
Looking at the back
One of the major lessons I took away from the workshop was reinforcement of the idea to slow down and look carefully. To be open to accidental beauty. To look for serendipitous adjacencies/relationships (this last most in play when we were making our small books, looking to arrange pages with interesting juxtapositions). For example, on one of my cloth-book pages, I sewed a trapezoidal piece of fabric I had brought with me.
But when I turned the page, I found I was more enchanted with the line of stitches that showed on the back:
Looking at the back came into play when I turned to a large quilt that had been lined up for machine quilting for some months, but I had been unable to make a decision about the quilting. It struck me that my "conversation" stitch--could contribute to the meaning of the quilt, which is about regret--a state of mind that has much to do with conversations, missing or gone astray. And that sitting with the quilt on my lap for the months it would take to hand-quilt it would be more therapeutic for me than machine stitching. (More on this quilt here.) I started by making the stitch in irregular rows in the upper right black figure (charcoal thread on black fabric). When I looked at the back, I loved the irregular dot-dash lines that were created, and decided to use that as the main stitch on the rusty/red/orange background sections of the quilt. So, for those sections, I am stitching with the back of the quilt facing up, making the conversation stitch onto the back. In this photo, you can see the conversation stitch in the black and it's "back" in the background (this shows about a quarter of the whole quilt):
Here's the back side, showing stitching from the top right and some background:
And I've also varied the stitching on the front by sometimes doing the stitching from the back as a random seed stitch rather than in rows, which yields the stitches on the bottom right on the red side. (This is a lot less confusing if seen in person!)
When my friend Mary Beth was visiting a few months ago, she asked me how it felt to do the more improvisational stitching--did it take more attention/thought than a standard, regular quilting stitch, or less? Interesting--it actually takes more, and I find this to be true of making compositions improvisationally as well. There is an early stage when the point is not to think so much, to let go of concentrated intentionality. This is what generates the free-form stitches or compositions. But once those elements are in place, and one wants to repeat them or work them into a composition, one has to think about it. In repeating the conversation stitch, I had to take care to make it not regular. After months of repeating the stitch, it now comes pretty naturally to vary it without thinking. But there is still more conscious thought involved. It's different from the kind of meditative state that I am more likely to enter if doing a regular, repetitive traditional hand-quilting stitch. I like both.