August 25, 2013

Dyeing folded fabric--fun!


Last weekend, I had some friends over for an evening of dyeing fabric, in preparation for which I mixed up quite a lot of dye in advance, way more than we had time to use.  Having this much dye on hand, and wanting to make use of it while the colors remain true (which gives me about 2-3 weeks), I've been motivated to do some experimenting with using multiple colors on folded fabric, something I've not done much of, as I use mostly solids and close-to-solids in my quilting.  But I thought of a good use for this other sort of dyeing--I can use the whole piece (about 42" square) for the back of a baby quilt.  Or, I can more simply just back the fabric with some flannel and make it into a receiving blanket.
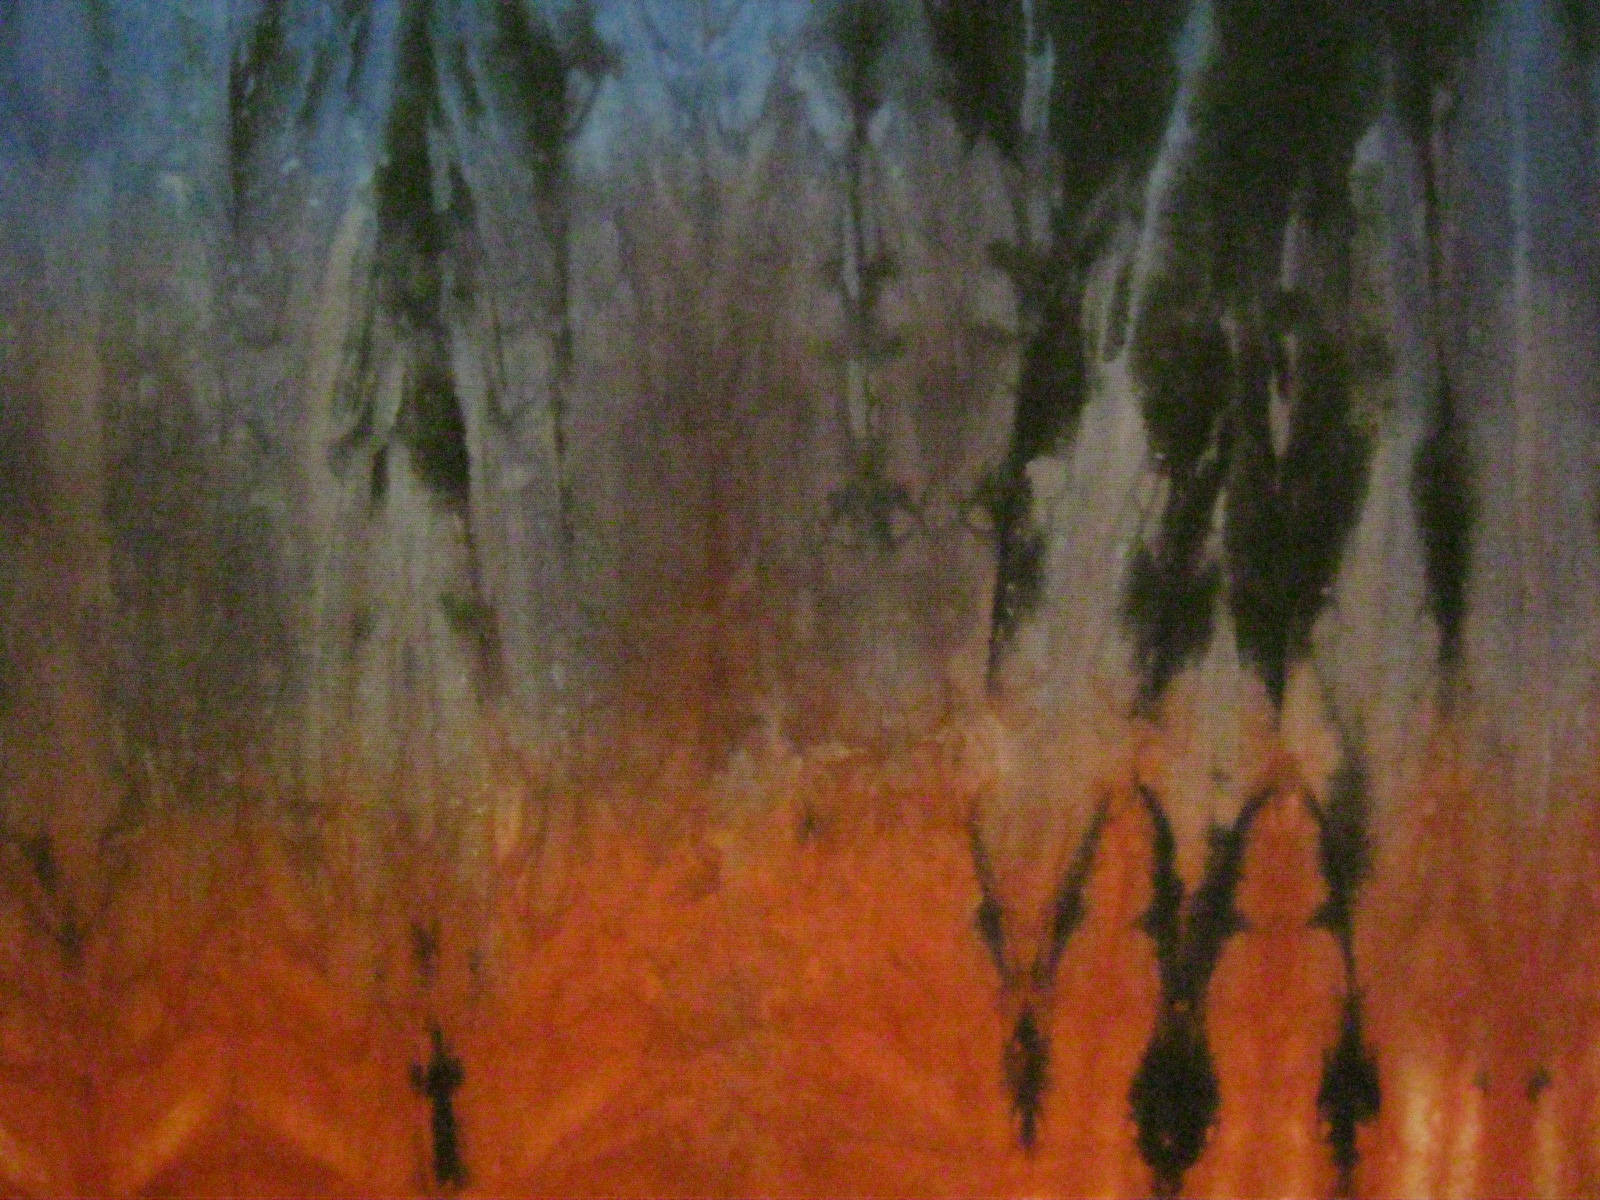
The fabric at the top of the page is my favorite.  The fabric was pushed into parallel folds, and then I manipulated the resulting "rope" into double-S.  The red, purple, and blue dye then ended up being at 90-degrees to the lines of the folds.  Adding black here and there gives extra depth and a bit of mystery.  I won't be giving away this piece!  Some details (double-click on any photo for a larger size):

The next one was folded in lines, the same as the first, but not put in an "S," and no black was used.  I swapped out the blue for teal.  I chose the colors for the various pieces based on a few different flannels I have on hand that I can use for the backing.  This piece is also nice, but not as dramatic.


I did another where the fabric was folded in half, and then the sides pushed down, kind of like a folded umbrella.  Yellow at the point of the "umbrella", then blue and green.


Only problem with this one is that the fabric was an inexpensive muslin, and I didn't see the holes in it until the dyeing was done (or maybe they developed in the process)--there are several more holes like this pair:


I think I'll have to cut up this piece to use it, rather than leave it whole.

The fourth piece is quite nice.  Again I began with a linear fold, but then I manipulated the "rope" into a spiral.  I put yellow in the center, then blue, then green.


And here are a couple of photos from the results of the evening session of dyeing, first the fabric:


and the quilters, very happy with the results: Sharon, Jill, Janis, and Mary Beth.


August 6, 2013

"Union Station" quilt complete


I'm very happy with this quilt!  The fabric is all hand-dyed by me (dyeing discussed here).  The pattern is "Union Station" by Janine Burke, published in Colorful Quilts, by Amy Walsh and Janine Burke.  The back is one large piece of hand-dyed fabric.


Here's a close-up of the quilting.  I chose a dark charcoal thread; I like how the design disappears in the black stripes.
I came up with the quilting pattern, a meander with mostly sharp corners but some curves thrown in.  My sample is on the left below (beige fabric).  I gave this sample to Mary Walck, my go-to long-arm quilter.  She did a great job with the quilting, but it's also interesting to me that even while she was following my design, it has her own "signature"--quilting is like hand-writing that way.


For the binding, I did a machine-stitched binding, sewn first onto the back and then flipped to the front.  I used a "faux-piped binding" method that involves piecing two binding strips together, resulting in a small flange on the front of the binding.  


The method is designed for having the flange in a contrasting color, but if you do both strips the same color, it still has the advantage of giving you a very clear line to follow when doing the top-stitching on the front, and the stitching gets buried in the seam.  This was my first try at using all one color--I like it!  Thanks to fellow Galesburg quilt guild member, Ron Bishop, for telling us about this method, and for suggesting doing it with all one color.  The next photo shows how the binding looks on the front of the quilt (lower horizontal) and how it looks on the back (upper).  One does end up with a line of straight stitching around the edge of the back.  I forgot to put thread in the bobbin to match the green of the background fabric, which would have made it less noticeable.  But being the same color as the rest of the quilting, it still looks OK.


August 5, 2013

Organizing the wet studio


The wet studio (for dyeing/painting/printing fabric) is definitely not as pleasant an environment as the sewing studio upstairs.  Nonetheless, I'm lucky to have a basement with plenty of space, a concrete floor, convenient electricity, and a large, deep double sink.  This is the main table I work on, here covered with an array of stuff I've been accumulating since starting to take classes on screen printing, stamping, discharge, etc.  Working further with the new techniques was being hampered by the difficulty of finding what I needed, so it was time to get organized.  I laid it all out on the table, and then organized things in plastic or cardboard containers.  Multi-use tools that could be used for more than one technique (like cotton twine and sponges) got their own box.  Here are a couple of the newly organized shelves:


And on another shelf, I have most of what I need for regular dyeing and painting.


The plastic shelving is from Walmart--much easier to put together than the metal shelving I've used for decades, and it won't rust.

I've got a new project in mind that will involve both printing and discharge, so this was a necessary first step.  I've got a week or two of work to do on "Regret" to get it ready for quilting.  Once that is all prepared, I'll move on to the next project.  The deadline is related to the weather--discharge needs to be done when it's warm enough to work outside. . .

July 17, 2013

Four-Patch Stacked Posie quilts

It seems I haven't posted photos of this quilt, one of my favorites, made about a year ago.  It's about 40" square, and I've it hung in a place where I see it every day.   This is about the 7th quilt I've made from the "Four-Patch Stacked Posie" pattern, which is basically a method of cutting up one central fabric so that each block is made from four identical segments of the fabric.  Most people do this quilt from floral fabrics, and I've done some like that, but I also like what happens with a geometric or other kinds of abstract prints.  Here's a close-up, so that you can see how the block is constructed.  I am very happy with the quilting I did on this piece--in-the-ditch quilting around and through the center lines of each block, and then loose, overlapping squares in the white sashing.  The black border was left unquilted, to emphasize its role as a frame.  I think the narrow striped binding also works well; it was cut from an unevenly-striped fabric. (As always, click on the photo for a larger view.)


Here's the fabric, before it was cut up:

Added July 21--This was actually the second 4-patch quilt I made with the red/white/black fabric.  Here's another, which I also like, but not as much as the one with white sashing.  Some of the individual blocks are especially nice; my favorites are the bottom right corner and the left hand column, two center blocks.


And here are some other 4-patch quilts I've made.  I think the multi-color sashing is a big plus in this one, which went to my sister.

I made this one for my friend Kay.  There's a photo of the fabric before cutting at the end of this post.

The next one won a prize in the local quilt show a few years ago.  I was surprised, because it's a pretty straightforward rendering of a simple pattern.  I think the judge had seen so many of these in floral prints, that she rewarded the use of a different type of fabric.  And I do think the black and white sashing was a good choice.  I originally tried out various bright colors, but the predominantly white fabric works well with the multi-color blocks.


Here's a photo of the original fabric (on the right) and some of the blocks:

Here's one from a more traditional fabric.  I like this color combination very much--it introduced me to the pleasure of magenta.  This quilt is on our bed.


The next one was made as a high school graduation present for a good friend.  The sashing is some of my hand-dyed fabric.

And here's the first one I made, as a wedding present for another young friend.  This one was done without the narrow frame around each block, as I was aiming for a more overall look to the pattern.


July 13, 2013

Using African and South Asian fabrics

A good friend of mine has travelled a good deal in Africa and South Asia, bringing back fabric from each trip.  She has used much of it, but a large pile has been sitting in the attic for years, and she decided to give it away.  I was the lucky recipient!  Some is in large flat pieces, other is clothing that I have cut up.


I talked with my friend about what I could make for her from the fabrics, and we decided on placemats.  While each fabric is beautiful, I found it a challenge to combine them.  I've made three placemats so far; I will show them to her, and then make 3 more, according to her preference.  


On the left--using the largest variety of fabric, including some solids.
In the middle--using the most closely-related selection of fabric
On the right--tighter range than the first, but wider than the second; detail of this one below.


July 1, 2013

Giveaway winner

Congratulations to Barb, who won the pillowcase giveaway!  Barb, I'll send you a separate note about choosing a fabric.

Thanks to all who sent in a comment.  I know from the stats on blogger that there are more of you out there--I guess pillowcases are not as popular as I thought they would be. . .

Can't leave you without a photo.  Here's a preview of a detail from a piece I'm currently finishing up, more before long:


June 26, 2013

Pillowcases--including a giveaway!


I've been out of the studio for a few weeks, both because of travel, and because of having some work done in both the sewing studio upstairs and the wet (dyeing) studio in the basement.  I was finally able to uncover the machine again to do some sewing, but needed something small to help me get in gear;  I had finished up a couple of larger quilts just before the work was done, and didn't feel I could jump right into the next big project.  So I decided to make up some more pillowcases for my bed.  The ones on the right are duplicates of a pair I made out of the fabric used for the 4-patch stacked posie quilt below, which is on my bed.  (The blocks are all made from the fabric used for the main body of the pillowcase.)


I had also recently gotten a bit of some lovely Kaffe Fassett "shirt stripes" fabric for a couple of napkins, and had liked it so much that I ordered more for pillowcases, as I think these will look nice on the bed also-- the cases on the left.  Here's a detail that shows the fabrics better:


These pillowcases are fun to make.  They would seem like a nice gift for friends, but I don't usually know anyone's bed linen decor, or whether they would like pillowcases that contrast with their sheets.  So, here's my giveaway deal--write a comment for this post (can be as simple as "I'd love two pillowcases"), include your e-mail address (can be spelled with "at" instead of @ if you want to avoid spam possibilities) and I'll figure a way to choose an entry at random.  I'll get to hear from readers who don't usually comment, and one of you will get two pillowcases with a fabric of your choice--my treat!  (Details of fabric choice will be worked out with whoever wins the draw.)  You have until 5:00 p.m. on Sunday, June 30 to leave a comment.