December 28, 2014

Further progress with greens and purples


I've finished making the blocks for this quilt, and settled on a layout.  The next decision is what color sashing to use between the blocks and as a narrow border around the edge (1/2" wide, the same width as the narrow strips within each block).  This is narrower than in the "Glyph" pattern that I used for the quilt, but I'm going for a look closer to the "Mod Mosaic" quilt I made a while back.  I may well go with white sashing (which would give a look close to the blocks on my white design wall), but I have tried out many other possibilities as well:  various greens and purples, black, dark blue, tone-on-tone green, green batik.  I'll be near a fabric store on Tuesday, so will take a look for candidates there.

In the meantime, I thought I'd play around with the many scraps I have left from the fabric cut for the narrow strips in the blocks. 


I use the "mile-a-minute" method for piecing scraps, and put them together into this small piece, about 6x6."


I like the results, but piecing with such small bits is not my forté.  I will leave the rest of the strip scraps as they are!   I also have quite a few large pieces of yardage left from what I dyed for the blocks; I plan to pull from that for the back of the quilt.


December 26, 2014

Changing the stitching on "Plain Spoken"

Back in May, I made the decision to quilt my shot cotton "Plain Spoken quilt with embroidery stitches.  In the months since, I scoured embroidery books for a variety of usable stitches and began the stitching.  I enjoyed learning the embroidery stitches; it is quite amazing how holding the thread one way or another, or placing the needle here or there, can create a wide variety of designs.  But after doing about 80 different stitches, I decided I didn't like the way it looked on the quilt.  Too much variety of color, value, and pattern--all of which distracted from the flow of color in the quilt.   (Ignore the loose white stitches--that's just basting that will be removed when the quilting is done.)


And a close-up, with basting stitches removed.  No better.  

So I decided to go back to something simpler, and did trials with various weight threads in either a simple running stitch, or the "conversation" stitch that I used on my Regret quilt.  


I decided on the conversation stitch (thanks to Mary Beth for the suggestion).  I'm using two threads, a dark, dusky blue 20 wt pearl cotton (hand-dyed) in the darker strips, and 2 strands of 50 wt Aurifil sewing thread in a pale yellow-green in the lighter strips; varying between the two holds down the value contrast between thread and fabric.  I think this is better.  


The quilt is also secured with in-the-ditch hand-quilting in all the vertical seams, done before I began the embroidery.


December 22, 2014

3 trees


About a year ago, walking in the woods of rural Illinois, I made the drawing on the right above.  I was struck by the relationship between the three trees.  I also think of the drawing as "The Three of Us."  I don't think of it as each tree representing a specific one of us--we're somehow interchangeable in my ruminations on it.

I thought for a long while of translating the drawing into a large quilt.  I imagined swaths of dark fabric against a white background.  I made several thermofax screens from photos I'd taken of bark (first row of prints below), and I also scraped thickened dye on fabric to get other textures (second row):


I talked with Bill Kerr about these ideas last spring.  He asked, "Does it need to be so literally like trees?"  Right, no need for bark texture--more abstract is better.  "The line drawing is very nice as it is."  Yes, agreed, I really like the line drawing.

So, I started thinking about doing a line drawing with thread.  While in New York this fall, I bought several interesting threads/yarns made by Habu, the gray and black ones being combinations of silk, linen, and paper.  I spent some time trying out various stitches with these threads, working on old linen napkins, of which I have a large supply from my mother and aunt.

After deciding on a simple couched stitch, I made a 9x12" version.  Then I decided to go smaller, to the size of the original drawing, about 4x6.  Better.  Not everything has to be large.  Seems odd to end up with something so small, after thinking about it for more than a year, but I think it's O.K.


I decided to mount it on a stretched canvas, rather than quilting it.  I've been wanting to try this method of display for a while, and this project gave me the opportunity.  I worked from a tutorial by Lyric Kinnard, though I stapled the fabric rather than fusing it.


 I still notice groupings of three in trees.  Maybe there will be more drawings. . .


December 21, 2014

Greens and purples


I'm making a quilt for Ashley, who picked out a color scheme of green and purple.  I had fun dyeing a range of colors.  I'm using a pattern by Weeks Ringle and Bill Kerr called "Glyphs," which incorporates improvised piecing; I've really been enjoying cutting and piecing this pattern.  Here are the first 24 blocks (out of 64 that I'll need for the quilt); I've made each block to finish at 6x8-1/2".

 Ashley prefers a bluish green, so I may have too much yellow-green.  Some is fine, but I'll probably re-balance as I make more blocks.

Here's a photo of the pattern, available in Modern Quilts Illustrated, no. 9.


I've changed the size of the block while keeping the proportion of width/length.  I plan to use a narrower sashing, and a border the same width as the sashing.  I haven't decided yet on the color for the sashing.  I'll wait until the blocks are done and then audition fabrics.  I'm thinking it might be a light green, or possibly a wide range of colors from the quilt.


December 15, 2014

Self-Portrait--an earlier design


Some pre-history of the "Self-Portrait, Year 2" quilt that I wrote about in my last post. The small maquette above (11x14") was done sometime in 2005/06.  This was my first design for the same idea (calm lavender at the surface, dark disturbance below).  The maquette is pinned to the bulletin board in my studio, and most people who see it comment on it.  I've collected a variety of black fabrics with the intention of doing a large-scale version of it at some point.


Two quilts accepted into QuiltCon

My blog has been silent for a few months, as I was spending more time than usual on some travel, a workshop at the Crow Barn, and then an unexpected month-long stint back working at the college, substituting for someone who took an unexpected leave.  What time I had for my own work, I spent sewing rather than writing about sewing.  I did line up topics for several posts, and I hope to know come back to them and catch up.

Good news from QuiltCon also pushed me to the computer.  This is the second time the Modern Quilt Guild has put on a national convention/exhibition.  In 2012, I submitted three quilts, none of which were accepted.  This year I submitted another three, two of which were accepted; the show will be in February.  The quilt that wasn't accepted was Regret, not too surprising, as it is more an "art quilt" than a "modern quilt," though the line between these is pretty hazy.  (And not a debate I'm interested in getting involved in.)  I haven't yet posted about either of the two quilts that were accepted.  One of them is an improvisational quilt, done as part of a call for quilts by Sherri Lynn Wood.  She is publishing a book on improvisational quilting, and she wanted quilts by others to use as illustrations of her methods.  The quilt I made was accepted for publication in her book, and part of the agreement is that I would wait to blog about it until the book comes out.  That will happen in February, so you'll see a post or two about that quilt in a couple of months.  

The other quilt accepted in the show is called "Self-Portrait, Year 2: Beneath the Surface."  It is a large, conceptual piece (68" x 94").  It goes back to my experience of being in the second year of mourning the death of my son.  At that point, the persistent sense of grief and loss that had become the underlying condition of my life had become invisible to others.  From the outside, all looked normal.  But underneath the surface, a fundamental change in identity was being shaped.  I ended up expressing this condition with a two-sided quilt.  One side is a dusky lavender, presenting the apparently calm surface.  (Only after choosing the color, did I learn from Claire Leeds that lavender was the Victorian color of mourning, allowed after black had been worn for a period of time.) The other side--"beneath the surface"--presents a bold black and white statement.   I've asked for the quilt to be hung at QuiltCon so that both sides show.  

First, the lavender side, which looks empty.


Close up, you can see the machine stitching around the letters on the other side, so the wording is just barely visible, in reverse.


And here's a small portion of the other side, black letters on white.

I don't feel comfortable showing the whole message.  It is difficult to look at, something to be seen in person, I think, rather than on a screen.  I thought of not posting about this at all, given my discomfort with showing the image, but decided to go ahead and give you at least a partial view.  

* * * * *  

On the technical side, this was a challenging quilt to make.  As often happens, a final piece that looks simple in design was the result of many decisions on multiple fronts.  For example, choosing what font to use for the message.  I am very satisfied with my final choice (Helvetica Neue Bold), but the choice was made after many weeks of trying out various fonts, reading about typography in general, and about Helvetica in particular--including this film.  The size of font to use was another decision, and then figuring out how to print out letter templates that large.  (Thanks much to Tim Stedman of the Knox College Art Department, and to Bill Kerr of Modern Quilt Studio for their help on all things typographical.)  And how to lay out the eight words of the message--could be 4 or 5 lines, with line breaks in various places.  Once the design was settled, there were many challenges in the construction of the work.    

Because the quilt is meant to be two-sided, and I didn't want a rim of binding around the edge, I used a "pillowcase binding," which is more usually done on small pieces.  I laid out all three layers (top, bottom, batting) on the floor, holding them down with masking tape.  Here are the first two layers:


Then the third layer laid on top of those.  I used felt instead of regular batting, as I wanted the piece to be quite flat after the quilting.


Then all the layers had to be squared off and trimmed, doing all this moving around on my hands and knees.


After the sandwich was stitched and turned, I needed to mark the quilting lines. I needed something 8 feet long, rigid and straight.  Wooden molding was not straight enough, so I found a heavy strip of metal at Lowes that worked.  I used this to mark the placement of the rows (a marker worked well on the metal), and then I also used it as a guide to mark the lines, running a hera marker along the edge.


Looking through my photos, I found this one (below) of early quilting trials.  I'd forgotten that I considered quilting horizontally rather than vertically.  I also tried out various spacings for the vertical lines.  I ended up using a spacing just a little narrower than the width of the letter elements.
 

September 5, 2014

Variations on a theme

(Note to Quilters by Design folks--If you'd rather be surprised by your block in March, go no further!)


I tend to work on multiple things at once, which means that the story of a particular project can be spread out over months, sometimes years.  The blocks above are the final result of the challenge I posted about in May, using the fabrics that I posted about the next day.  The basic idea:  each of nine quilters chose one or more colors.  As one of the nine, I made eight compositions, one for each of the other quilters, using their preferred colors.  (One person chose "pastel floral" instead of a specific color, which explains why the block in the middle of the left column looks quite different.)  The only size specified was that either the width or length had to be 9.5 inches.  I decided to start each of the designs with the improvised shape that I came up with in a class with Sherri Wood (described here):


I continue to like this basic shape, even after playing with it eight times for these challenge blocks.  

We'll be exchanging our blocks at our next retreat in March.  It will be fun to see what others made for me.  I gave just one color for my preference:  yellow-green.

July 25, 2014

Regret


REGRET

This quilt (72 x 60") is now finished .  You can retrieve the history of its making from this post.  I am satisfied that the basic graphic design of the quilt captures what I had in mind--the nature of the feeling of regret, which, for me, has to do with a missed connection between two people.

A detail of the quilting from the front (double-click to enlarge; color more accurate above); both thread and fabric were hand-dyed.


And a detail from the back. By comparing the two detail photos, you can see how the short parallel stitches on one side turn into a dash-dot pattern on the other side:


I am not entirely satisfied with how the quilting turned out.  Looking up close is fine, and from a far distance is fine.  But standing a normal viewing distance away, I'm bothered by the puckering that happened, especially in the bottom half of the quilt, a result of the the batting material (flannel) and binding method (pillowcase binding, sewn before the quilting) that I used.  After ironing, the puckering was reduced enough that I'm content to show these photos and to put the quilt in my local guild show next month.  But one of these days, I may come back to this, and do a machine quilted version as well. Before I decided on hand-quilting, I machine stitched a small maquette of the quilt.  Here's a detail of it:


And a view of the whole--I added some complexity to the background by having the lines go in various directions:


Or I could instead do straight (diagonal) lines across the whole quilt.  Or lines going in one direction in the background and another direction on the black figures.

But in the meantime, I've got a few more major quilts in mind, and they get higher priority.


May 22, 2014

Even with a pattern--many decisions


I recently finished up a version of Carol Friendlander's "Focal" pattern; my version above is 40 x 48". When using a pattern, I am relying on a designer for the basic composition of a quilt.  Much as I enjoy designing my own quilts, I also enjoy taking a break, leaving the major compositional decisions to someone else.  But it never ceases to amaze me how many design decisions still have to be made for a quilt, even when working from a pattern.  In this way, I find it very different from the sewing and knitting I have done since I was a young girl.  Yes, you have to choose the fabric or yarn for those, but that's basically one choice, and then you just follow the pattern.  (I know it's possible to do significant adaptation/alteration of such patterns, but I never have.)  With a quilt, even the choice of fabric is a whole set of choices, as a quilt typically contains at least two fabrics, and often many more than that.  The huge range of choices available in today's quilting stores is very different from choosing the one color of, say, cordoroy, that I was going to use for a skirt.  When I first started quilting, I found these choices daunting.  I started reading in color theory to help me figure fabric choice; from there I went further into composition, drawing, graphic design, modern art history, and more--all of which has helped me gain confidence in making design choices as I make a quilt, including sometimes designing my own from start to finish.

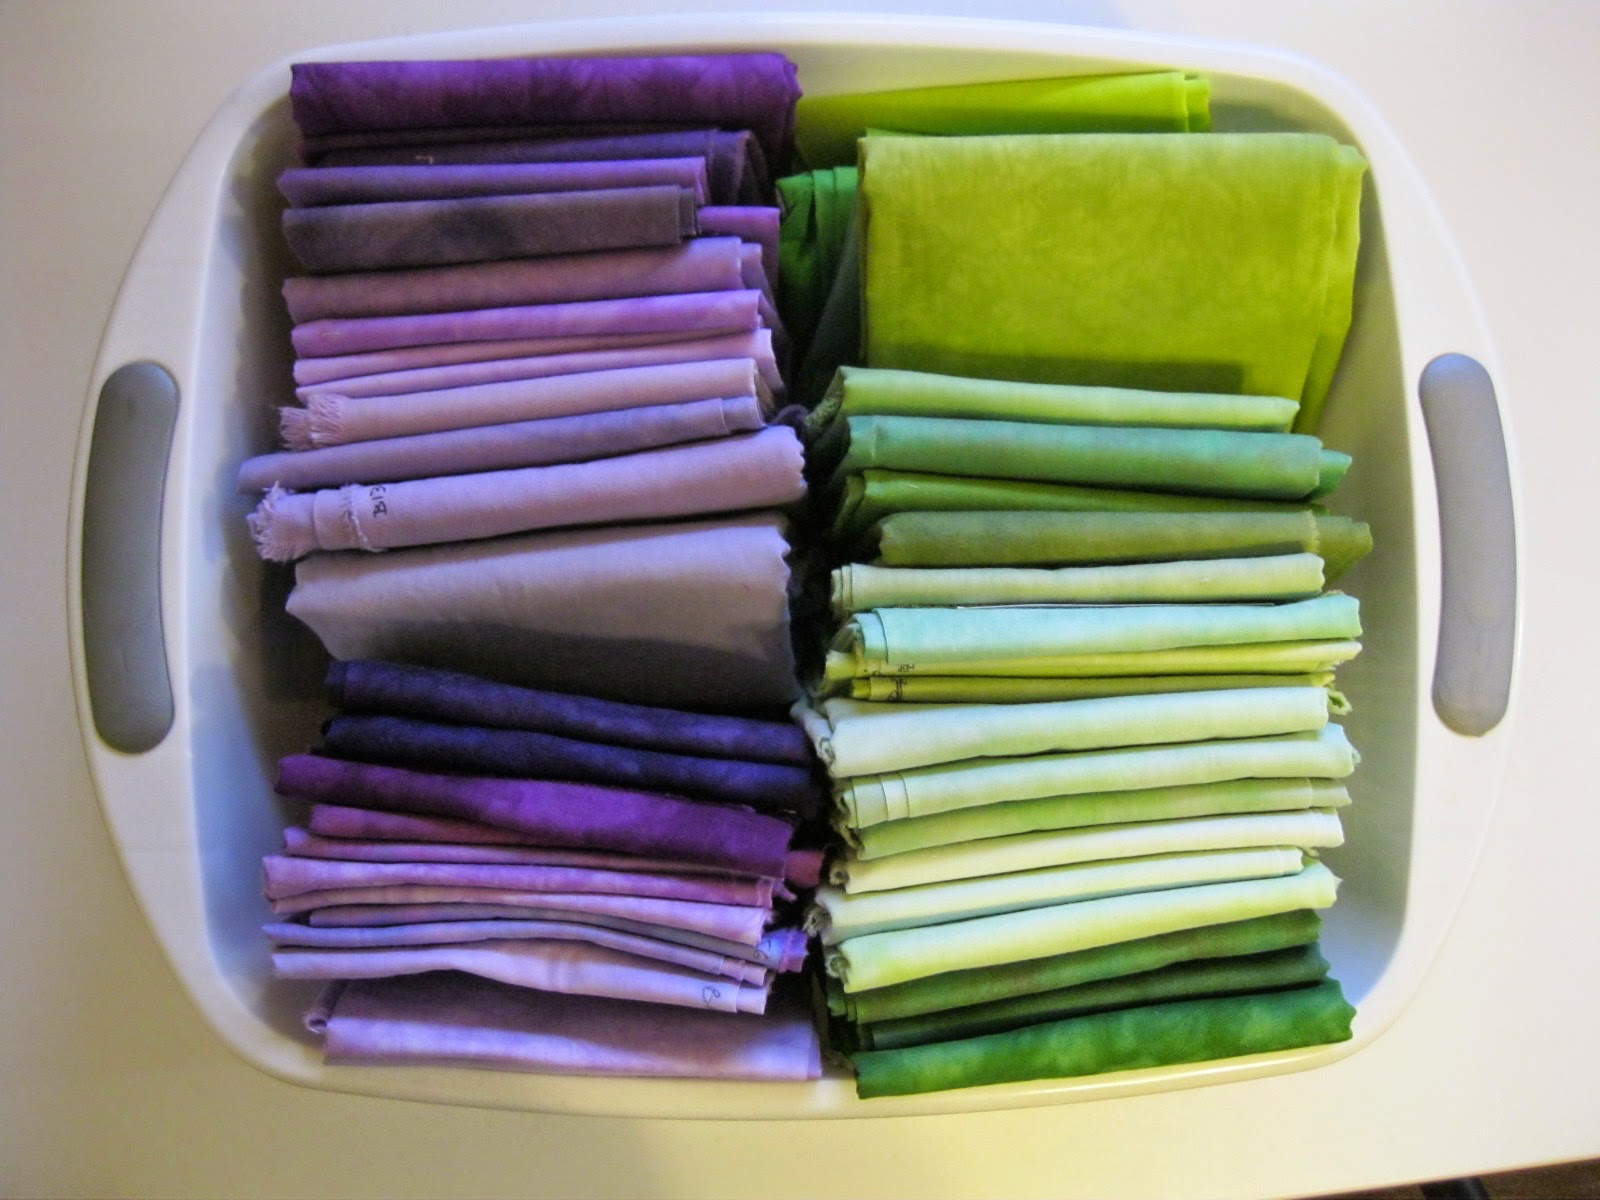
About the decisions I made when using this pattern by Carol Friedlander:  As always, the first choice was for fabrics.  I decided to use my hand-dyed fabric for most of the quilt, just using commercial fabric for the little triangles.  In an earlier post (which includes a photo of Friedlander's pattern), I talked about how, while keeping the basic compositional design of the pattern, I fundamentally changed the construction process.  But while the construction was different, the design remains Friedlander's, and I think it's brilliant!

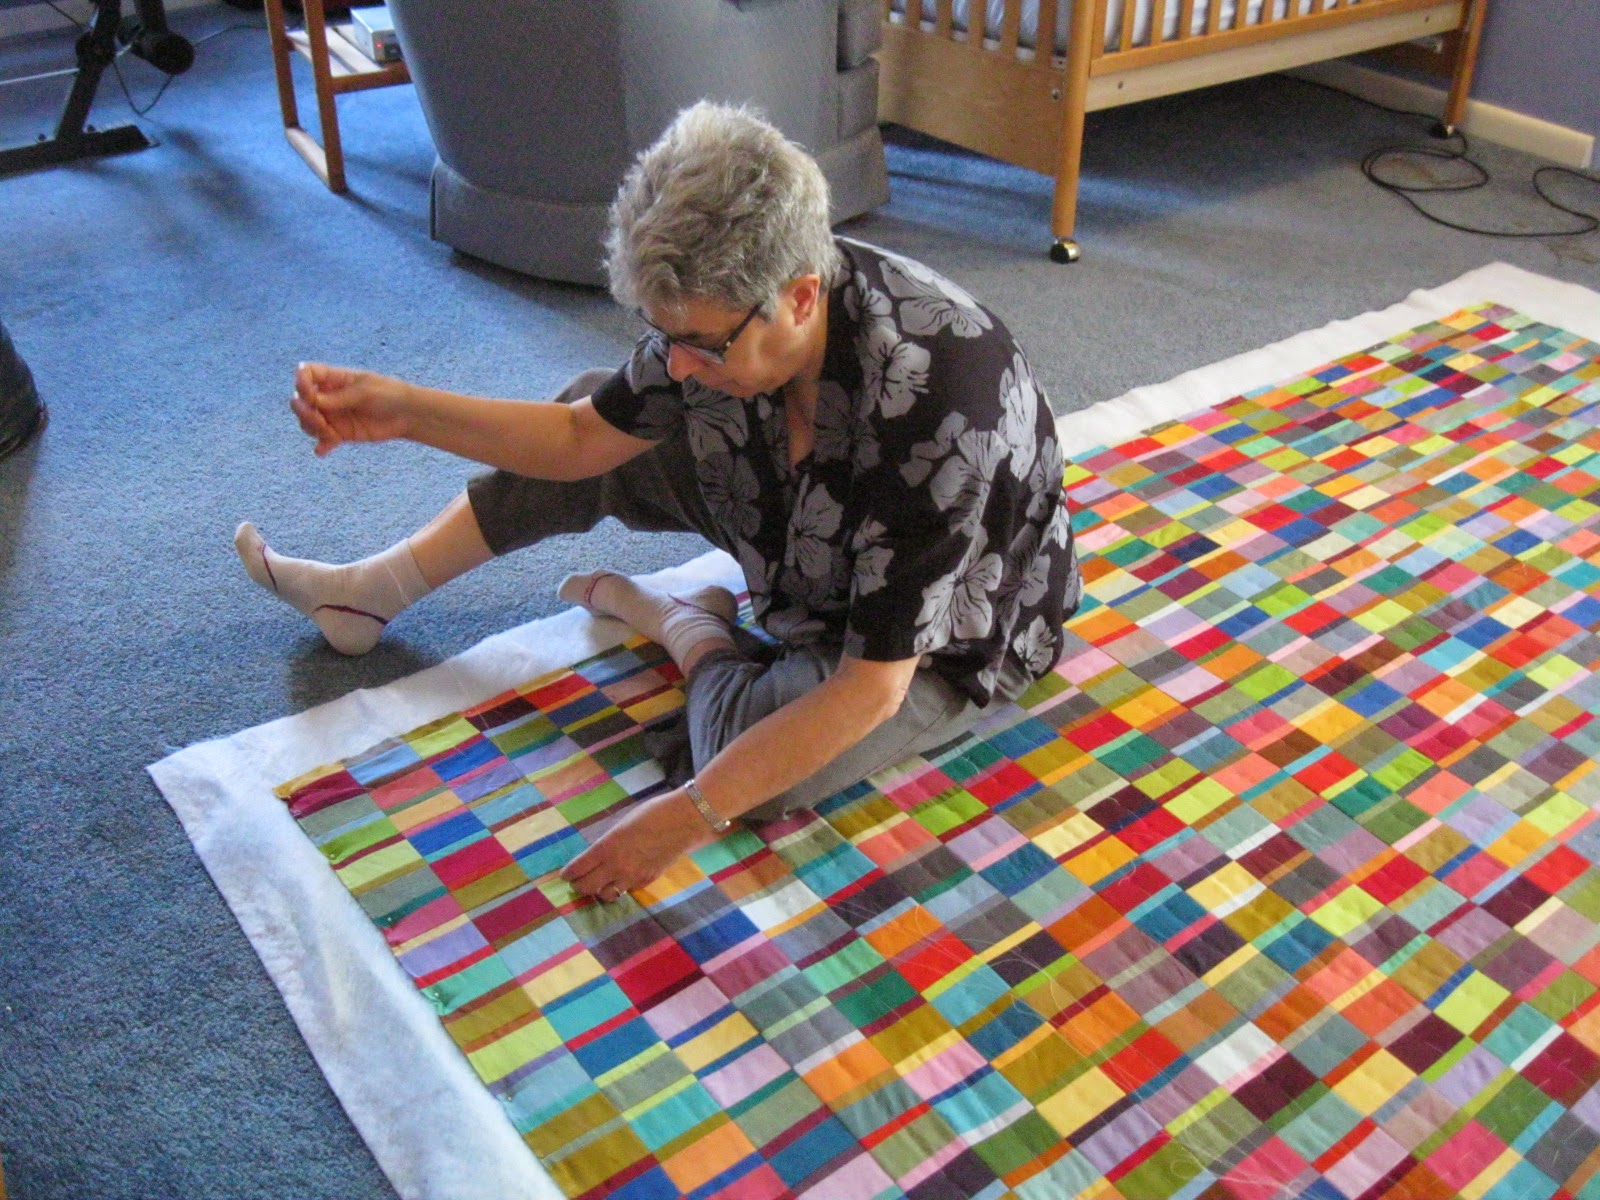
Other than fabric, my big design choice was what quilting pattern to use for stitching the three layers together.  I tried out various designs, and decided to go with a casual, angular floral design in the center section, and then straightline quilting in the border, outlining each "stick."  Even that simple choice for the border came only after trying out several different possibilities on a sample piece.


The final choice was the binding.  The binding is just 3/8" around the edge, but the right choice can really pull a quilt together.  I auditioned various fabrics:  aqua, orange, burgundy, and a scrappy sequences of 4" strips of fabrics used in the triangles.  I thought the scrappy binding would likely be my choice, but it ended up competing with the triangles, rather than emphasizing them.  In the end, I went with a dusky purple, and I think it does its work very well.  I didn't have enough of one color for all four sides, and I wasn't in the mood to dye more, so I used one color for top and bottom and another for the two sides.  Even though the fabrics looked quite different in the large, uncut pieces, with one both darker and with more red in it, you can barely tell the difference in this close up:


And really not at all when you step away and look at the whole quilt:


For the back, I ended up choosing to dye one piece of fabric, a mottled chartreuse.

Done!

May 18, 2014

Daiwabo runner


About a month ago, I wrote about the runner I planned to make from daiwabo fabric, for the buffet in my dining room; you can see the array of fabrics I started with on that post.  Above, you can see the completed runner, along with a painting of the Hotel de Sens in Paris by our friend Rick Ortner.  


The runner was made using Amy Walsh's pattern, "Get in Line" (from American Patchwork & Quilting, June 2012).  Below is a closeup that shows the binding and the quilting: 


I used bias strips for the binding, because of needing to go around a couple of curves.  And since the fabric I choose for the binding was a heavy weave, I made it with single-fold rather than double-fold binding.  I haven't used single-fold binding before, but I think I'll choose it again for some projects. The reduced bulk is nice, and it uses up less fabric.

Those nice wavy quilting lines are done with a set decorative stitch (rather than free-motion quilting), a stitch that came built into my new sewing machine.  I recently upgraded from my Pfaff Performance 2056 to a Pfaff Performance 5.0.  The main impetus to the upgrade was to get enhanced quilting ability, in two ways.  1) The machine has the ability to do very wide decorative stitches, including this wavy one (which can be made wider or narrower, elongated or not).  This is a really useful stitch for a fast and easy way to quilt a project.  2) The throat space on the machine (the open space between the needle and the right portion of the body of the machine) is 10"--several inches longer and also higher than on my old machine.  This makes it much easier to quilt a larger quilt, as half of the quilt has to be able to scrunch up in that opening when being quilted.  These are the features that got me to look at the machine, but in addition, Pfaff did a great job of adding in a lot of very useful features for everyday sewing, without taking away anything I already loved about the Pfaff.  I'm very happy with the purchase.  For any sewers out there who are interested in the machine, I would recommend this 45-minute video:


The table insert that surrounds the machine is clear acrylic--so the thing that looks like a map behind the machine is actually a reflection in the acrylic of the redbud tree outside my window.

Before I put away the extra daiwabo fabric and strips, I sewed up a little log cabin block, just to see how I would like it.  Maybe someday, I'll pull out the fabrics again, and do a table runner from four larger blocks like this. . .

May 11, 2014

Embroidery!


I recently finished piecing the shot cotton "Plain Spoken" quilt.  The next step was to figure out what I wanted to do for the quilting.  On an earlier shot cotton quilt, made from just the larger-size rectangles, I machine quilted a grid, and then added hand-quilting with embroidery thread, a simple line inside each rectangle.  I thought of doing similar hand-work on this quilt, so I tried it out on the sample above, right column.  Too boring, and the narrower rectangles needed a different treatment.  I've been wanting to expand my embroidery repertoire, so I decided to play with some embroidery stitching instead (working it through the three layers of top, batting, and backing, so that it serves as quilting as well)--done in the middle and left columns above.  I love how this looks!  So, my plan is to do vertical stitch-in-the-ditch in the seams between each column to secure everything, and then to do embroidery in the narrow rectangles (0.5 x 3").  I won't do any stitching at all in the larger rectangles (1.5 x 3").  It will take me a year or two to complete, but it will be a pleasure to do.  There are 1,440 narrow rectangles in this quilt, and I'm thinking I'll try to do something different in each one.  I've been going through embroidery books, picking out stitches that will be usable for this project, and so far have about 150 different stitches (e.g., back stitch, lazy daisy, French knot, etc.).  Since many of these stitches can be used in multiple ways, I think it's possible to come up with 1,440 variations, especially since the straight stitch (example in lower left corner above) is basically a short drawn line, so there are as many variations as one could make with a drawn line. . .

With a quilting plan in place, the next step was to baste together the three layers of the quilt.  I usually secure the layers by spray-basting, with the layers pinned to a vertical design wall--a method I learned from a Patsy Thompson video.  But this quilt is 90 x 112 (for a queen-size bed), and the spray-basting works best for something smaller, and for something done by machine rather than hand-quilting.  I decided to baste this on a low-nap carpet, a method described by Suzanne Marshall in her book Take-Away Appliqué, pp. 78-79.  I have a large carpeted area in the finished attic of my house that I could use.  First, the back gets pinned to the carpet, all around the edges:


Then the batting is smoothed out onto the backing.  (For hand-quilting, I use Hobbs Poly-Down.)  Then the top is smoothed out over the batting and secured with pins around all the edges.


Then, you sit on the quilt and baste it!  I've never tried this before, as I couldn't believe the quilt wouldn't shift from my moving around on it, and I also thought it would be a strain on my back.


But it has been working well.  I do only a half-hour at a time, twice a day.  After a week, I'm about half-way through.  I'll have to up the number of stints to three times a day, as I've got a guest coming into the guest room on Friday!

I'm stitching in the middle of every column, and in the middle of each row of larger rectangles.  It's a pleasure to be looking at all the color combinations close up.


May 6, 2014

Drawing and Looking


Each spring, I look forward to the blossoming of my neighbor's redbud tree, whose pink cloud of flowers I can gaze out upon from my kitchen and study windows.  Today I wanted to spend a little time drawing, so I thought I'd check out the redbud flowers, to see what they looked like close up.  To my great surprise--after 23 years of looking out at this tree--I found that the flowers are not just pink, but have a base of a deep rose color, with pink petals.


Often the particular shape of the component part of a flower has come as a surprise to me, when looked at close up, but not before the color.  I am grateful to my relatively new practice of drawing (begun in 2012 and described here) for making me slow down and look carefully.  There is so much to see. . .

It also interests me that in isolating one flower-filled twig of the tree, there is no hint of the cumulative effect of the blossoms on the whole tree.